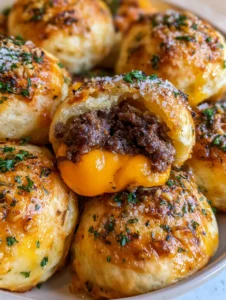
If you are searching for the ultimate crowd-pleasing appetizer or a quick weeknight dinner that the whole family will obsess over, these Cheeseburger Bombs are the answer. Imagine a savory, seasoned ground beef filling enveloped in a pillowy, golden-brown dough, then finished with a glistening layer of melted garlic butter and a heavy dusting of salty parmesan cheese. These little pockets of joy deliver all the classic flavors of a gourmet burger in a convenient, handheld form that is perfect for game days, parties, or busy evenings.
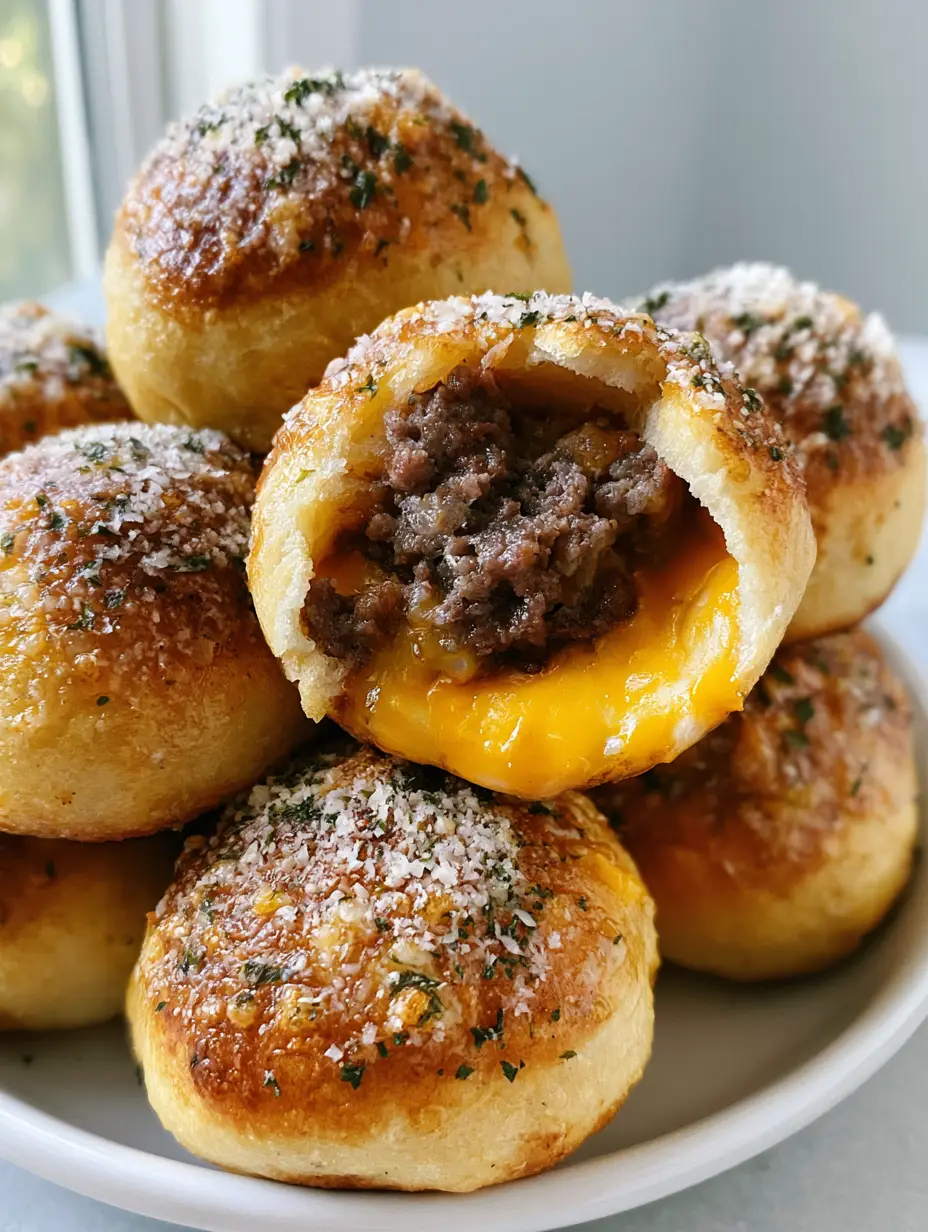
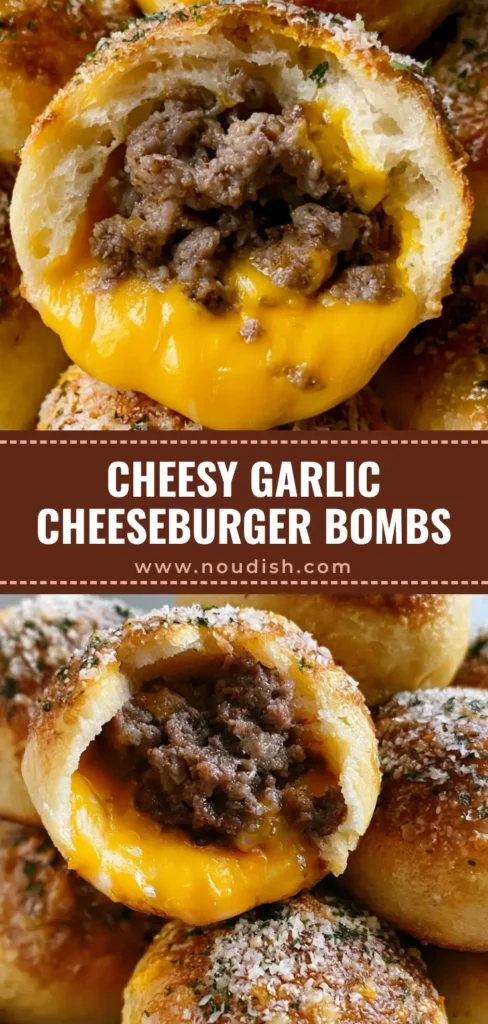
The beauty of the Cheeseburger Bombs recipe lies in the contrast of textures. One bite through the crispy, buttery exterior crust reveals a steaming core of crumbled beef and a thick, gooey layer of melted yellow cheddar cheese. It’s a sensory experience that validates every craving. Whether you’re a seasoned home cook or a beginner, this recipe is designed to be foolproof, fast, and high-impact. Let’s dive into why these are about to become your new favorite obsession.
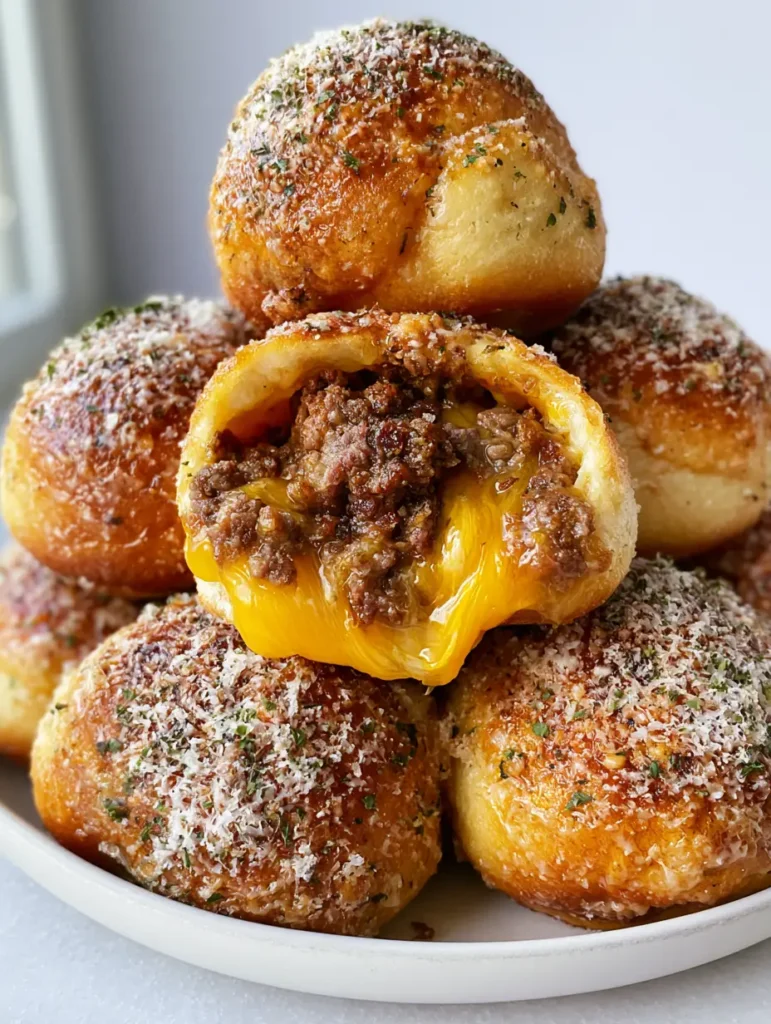
Why These Garlic Parmesan Cheeseburger Bombs Are a Total Game-Changer
- Explosive Visual Appeal: The golden-brown crust, flecked with green parsley and snowy parmesan, makes these an instant Pinterest favorite.
- Gooey Cheese Core: Using thick cheddar cubes ensures a dramatic “cheese pull” that shreds and melts perfectly inside the dough.
- The Garlic Butter Finish: Brushing the buns with garlic butter immediately after baking creates a glistening, professional finish.
- Maximum Portability: These are the ultimate finger food, requiring no utensils while delivering full meal satisfaction.
- High Versatility: You can easily prep these ahead of time or customize the fillings to match your favorite burger toppings.
For those who love stuffed savory snacks, you might also want to try our stuffed onion bombs for a different twist on the “bomb” concept. If you are a fan of bold burger flavors, our oklahoma onion smash burger provides that same savory beef punch in a traditional format.
Essential Ingredients for the Perfect Cheeseburger Filling
To ensure your Cheeseburger Bombs have that authentic “steakhouse” flavor, we focus on high-quality basics seasoned to perfection. Each ingredient serves a specific culinary purpose to balance fat, salt, and aromatics.
1 lb (450g) Lean Ground Beef: We recommend 80/20 or 90/10 beef. This provides enough fat for flavor without making the dough soggy during the baking process.
1 tsp (5g) Onion Powder & Garlic Powder: These aromatics provide a deep, savory base that permeates the meat without the texture of raw onions, which can release too much moisture.
1/2 tsp (3g) Sea Salt & Black Pepper: Essential for heightening the natural beefiness of the filling.
1 tbsp (15ml) Worcestershire Sauce: This is the secret ingredient that adds umami and a subtle tang, mimicking a flame-grilled burger profile.
16 oz (450g) Refrigerated Biscuit Dough: Using pre-made dough is a pro-hack for achieving that perfect “golden-brown baked dough” texture quickly. You can also use homemade yeast dough if you prefer.
4 oz (115g) Sharp Yellow Cheddar Cheese: Cut into 1/2-inch cubes. Cubes melt more slowly than shreds, resulting in that “gooey core” mentioned in our visual blueprint.
The Garnish Trio: 4 tbsp (56g) melted salted butter, 2 cloves minced garlic, 1/4 cup (25g) finely grated parmesan, and 1 tsp dried parsley flakes. This creates the “crispy, buttery exterior crust” that defines the dish.
The Science of the Perfect Handheld Bomb
Creating Cheeseburger Bombs isn’t just about wrapping meat in dough; it’s about heat management. When we brown the beef first, we trigger the Maillard reaction, which creates those complex, savory flavors that raw meat lacks. However, we must drain the fat thoroughly. If the filling is too greasy, the dough will become saturated and fail to crisp up, leading to a “soggy bottom” syndrome.
Furthermore, the choice of cheese matters. A sharp yellow cheddar provides a bold color contrast against the browned beef. By placing a cold cube of cheese in the center of the warm beef, we ensure the cheese melts at the exact moment the dough reaches its peak golden-brown color in the oven.
If you love these buttery, garlicky notes, you absolutely have to check out our cowboy butter recipe which makes for an incredible dipping sauce for these bombs.
How to Craft Golden-Brown Cheeseburger Bombs
Step 1: Searing the Savory Beef Filling
In a large skillet over medium-high heat, add your 1 lb (450g) of ground beef. Use a wooden spoon to break the meat into fine crumbles. As it begins to brown, sprinkle in the onion powder, garlic powder, salt, and pepper.
Continue cooking until no pink remains. Visual Cue: The beef should be deeply browned and slightly crispy on the edges. Stir in the Worcestershire sauce and cook for 1 additional minute. Drain the excess grease into a heat-safe container. Let the meat cool for 5-10 minutes so it doesn’t prematurely melt the dough.
Step 2: Preparing the Dough Pockets
Preheat your oven to 375°F (190°C). Line a baking sheet with parchment paper to prevent sticking. Open your refrigerated biscuit dough and separate the individual rounds.
On a clean surface, use your fingers or a small rolling pin to flatten each biscuit into a 4-inch (10cm) circle. Technical Tip: Ensure the edges are slightly thinner than the center, as this is where the dough will be pinched together and “doubled up.”
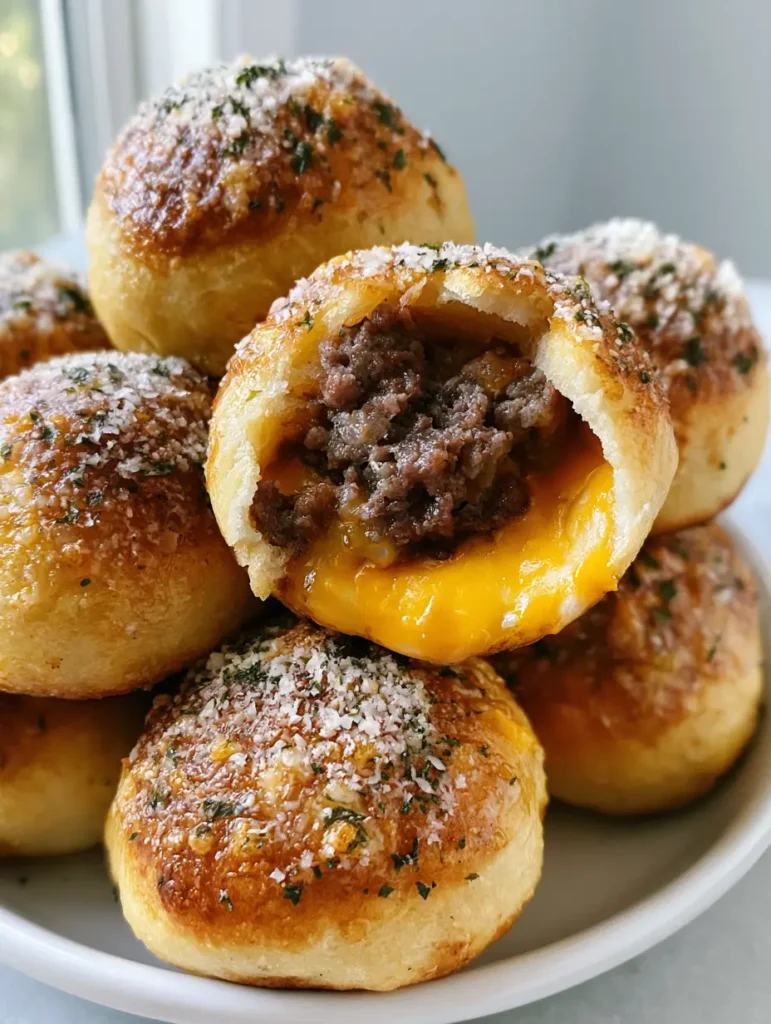
Step 3: The “Bomb” Assembly
Place approximately 1.5 tablespoons of the seasoned beef into the center of each dough circle. Top the beef with one cube of the yellow cheddar cheese. Carefully lift the edges of the dough and gather them at the top, pinching firmly to seal.
Roll the ball gently between your palms to ensure a smooth, spherical shape. Place the bombs seam-side down on the prepared baking sheet, spaced about 2 inches apart. This ensures heat can circulate around the entire “bomb” for even browning.
Step 4: The Garlic Butter Infusion
In a small microwave-safe bowl, melt the 4 tbsp (56g) of butter. Stir in the minced garlic. Using a pastry brush, generously coat the top and sides of each dough ball with the garlic butter. Visual Cue: The dough should be glistening and wet before entering the oven.
Step 5: Baking to Golden Perfection
Slide the tray into the center rack of the oven. Bake for 12-15 minutes. You are looking for a “golden-brown baked dough” that sounds slightly hollow when tapped. The aroma of garlic and toasted dough should fill your kitchen.
Step 6: The Signature Parmesan Finish
As soon as you remove the Cheeseburger Bombs from the oven, brush them one last time with any remaining garlic butter. Immediately sprinkle the finely grated parmesan cheese and dried parsley flakes over the top. The residual heat will help the parmesan adhere to the crust, creating that “heavily dusted” look from our Midjourney prompt.
Expert Tips for Success
- Seal Them Tight: If you don’t pinch the dough firmly, the cheese may leak out during baking. If this happens, don’t worry—it just creates a crispy cheese skirt!
- Don’t Overfill: It’s tempting to pack in the beef, but overfilling makes sealing difficult and can cause the bombs to burst.
- Use Cold Cheese: Keep your cheddar cubes in the fridge until the very moment you assemble. This prevents the cheese from oiling out too quickly.
- Add Toppings: Want more flavor? Add a slice of pickled jalapeño or a tiny bit of bacon bits inside the bomb with the cheese.
Storage, Reheating & Freezing
To Store: Keep leftover Cheeseburger Bombs in an airtight container in the refrigerator for up to 3 days. They make excellent cold snacks, but are best enjoyed warm.
To Reheat: For the best results, use an air fryer at 350°F (175°C) for 3-4 minutes. This restores the “crispy, buttery exterior crust.” Alternatively, use an oven. Avoid the microwave if possible, as it can make the dough chewy rather than crisp.
To Freeze: You can freeze these after baking! Once cooled, place them on a tray to flash-freeze, then transfer to a freezer bag. They will last up to 2 months. Reheat directly from frozen at 375°F (190°C) for 15-20 minutes.
What to Serve With Cheeseburger Bombs
While these are a meal in themselves, pairing them with the right side dish can elevate the experience. For a lighter side, try our marinated cauliflower salad. If you’re leaning into the comfort food vibe, a side of deviled egg macaroni salad is the perfect creamy companion.
For dipping, we highly recommend a side of classic fry sauce (ketchup, mayo, and mustard mixed together) or a spicy ranch to complement the garlic parmesan notes.
Frequently Asked Questions
Absolutely! Cook them at 350°F (175°C) for 8-10 minutes. Make sure to space them out so the air can circulate for a crispy finish.
You can assemble them up to 4 hours in advance and keep them covered in the fridge. Bake them right before serving for the best texture.
Yes! Ground turkey or even ground chicken works perfectly. Just ensure you season it well, as turkey is leaner and may need a pinch more salt or Worcestershire sauce.
Make sure your dough is at room temperature so it stretches easily, and pinch the seams very firmly. Placing them seam-side down on the baking sheet also helps keep them sealed.
Refrigerated ‘Grands’ style biscuits are easiest for that fluffy texture, but pizza dough or homemade yeast dough also works if you prefer a chewier crust.
The Ultimate Cheeseburger Bombs Recipe
Cheeseburger Bombs: The Ultimate Garlic Parmesan Baked Handhelds
Ingredients
Equipment
Method
- Cook ground beef with onion powder, garlic powder, salt, and pepper in a skillet until browned. Drain grease and stir in Worcestershire sauce.
- Flatten biscuit dough rounds. Place a spoonful of beef and one cheddar cube in the center. Pinch the dough edges together tightly to seal.
- Place bombs on a baking sheet. Brush with garlic butter and bake at 375°F (190°C) for 12-15 minutes until golden brown.
- Remove from oven, brush again with garlic butter, and sprinkle with parmesan and parsley flakes.
Notes
Keep cheese cubes cold until ready to stuff for the best melt.
Join the Community & Share Your Results!
We hope you love these Cheeseburger Bombs as much as we do! They are truly the ultimate fusion of a classic burger and a buttery garlic knot. If you make this recipe, please save it to your Pinterest boards so you never lose it!
Don’t forget to follow Noudish_Recipes for more viral-worthy kitchen inspiration. If you tried a unique filling or have a photo of your golden-brown creations, share it in the comments below! Finally, if this recipe hit the spot, please leave us a 5-star rating in the recipe card above. Happy baking!