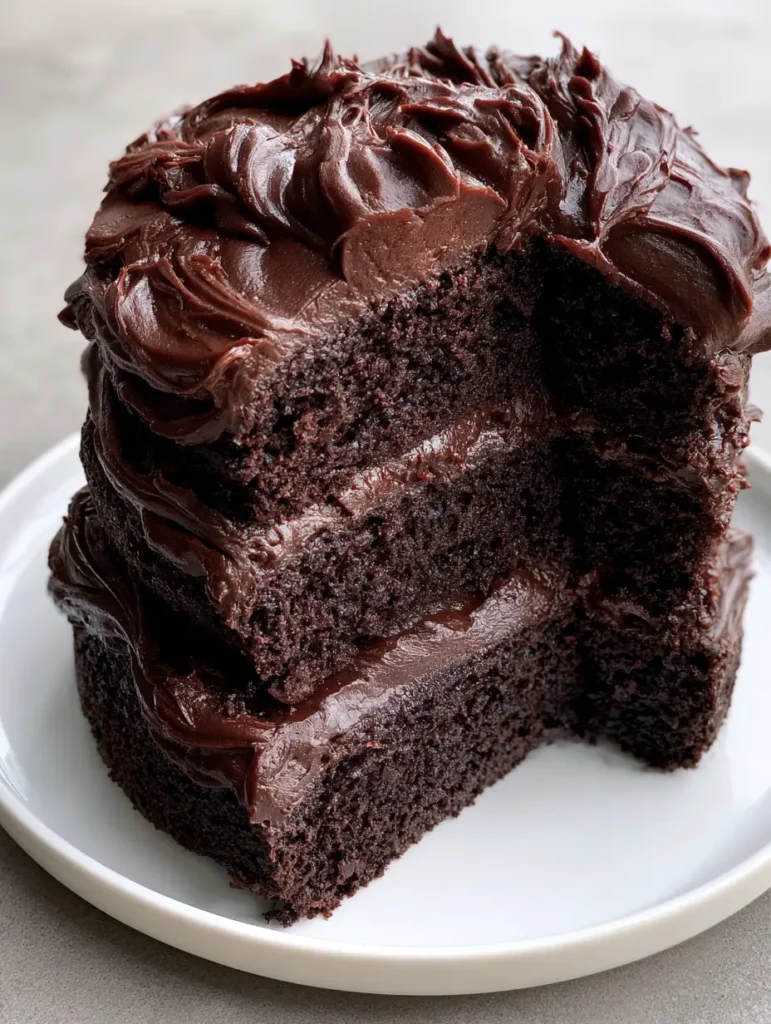
This Midnight Fudge Cake is the ultimate indulgence for chocolate lovers, featuring three layers of moist, dark cocoa sponge and a heavy, glossy dark chocolate fudge frosting. If you have been searching for that perfect handheld smartphone-worthy dessert that looks just as good on a simple white ceramic plate as it tastes, this is the recipe that will stop the scroll.
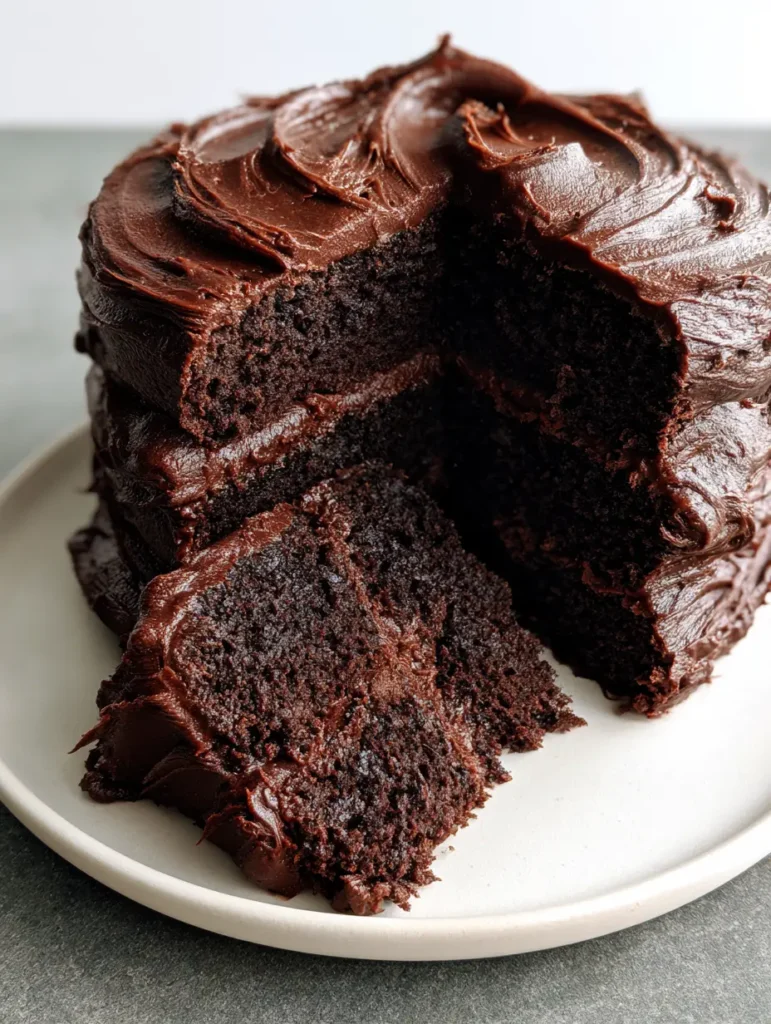
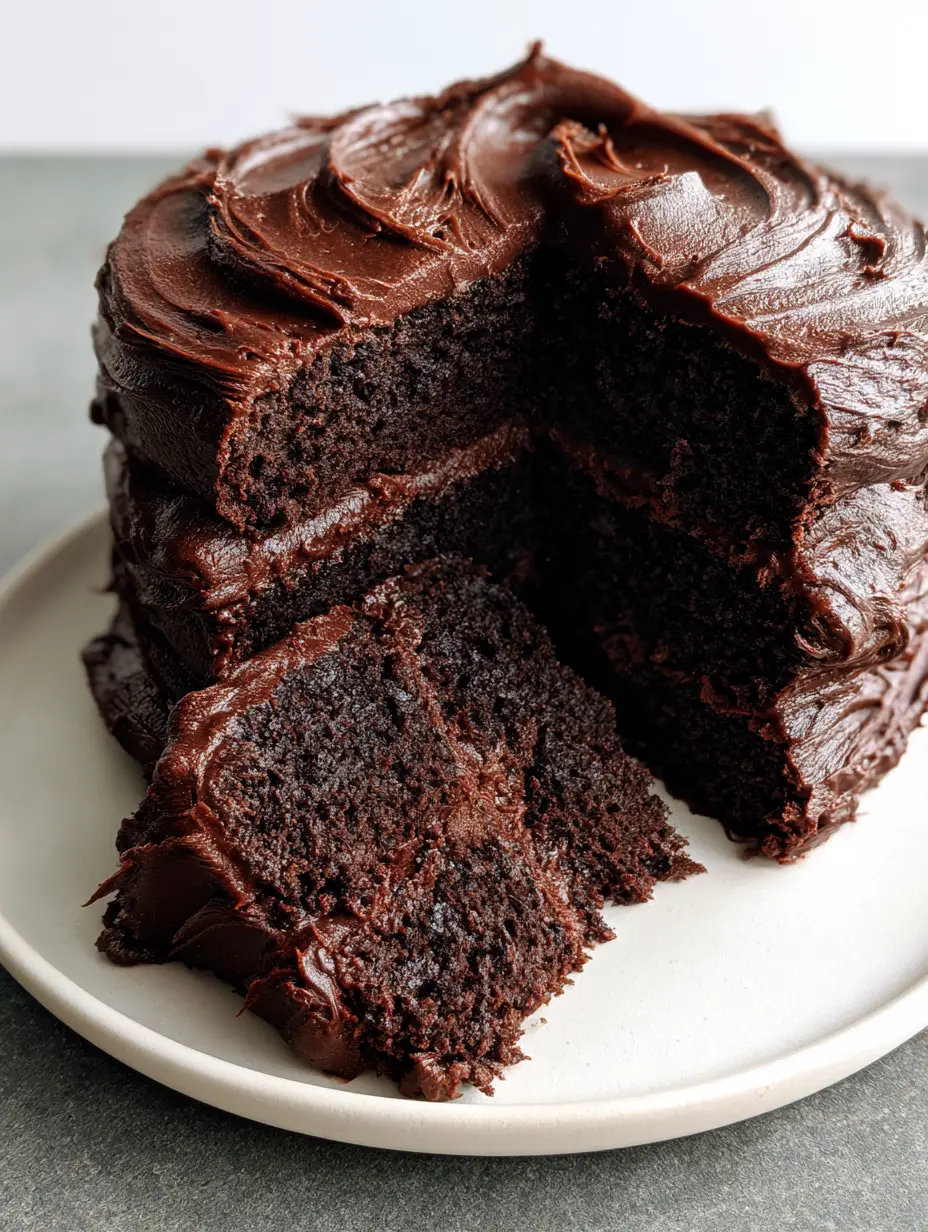
The secret to this Midnight Fudge Cake lies in the tight, spongy crumb and the deep, dark cocoa profile that creates a striking contrast against the textured spatula swirls of the frosting. Whether you are a seasoned baker or a home cook looking to impress, this decadent masterpiece delivers professional results with authentic food photography vibes every single time.
Why This Midnight Fudge Cake Wins Every Time
- Triple-Layer Architecture: Three thick layers of dark chocolate sponge provide a towering, impressive height that maximizes vertical appeal.
- Ultra-Glossy Finish: The fudge frosting is engineered for a high-shine, heavy sheen that looks incredible under natural daylight.
- Tight Spongy Crumb: Unlike crumbly cakes, this sponge holds its shape perfectly, allowing for that iconic “missing slice” photo that reveals the rich interior.
- Balanced Sweetness: We use dark Dutch-processed cocoa to ensure the Midnight Fudge Cake is intensely chocolatey without being cloying.
If you love deep chocolate flavors, you might also want to try our hot fudge brownie bread for a quicker cocoa fix.
Essential Ingredients for the Darkest Sponge
To achieve the signature “midnight” look, every ingredient serves a scientific purpose. We aren’t just making a cake; we are building a structural chocolate wonder.
Dutch-Processed Cocoa Powder: 1.5 cups (130g). This is non-negotiable for the Midnight Fudge Cake. It provides the dark, near-black color and a smooth, mellow chocolate flavor.
All-Purpose Flour: 3 cups (375g). Provides the structural framework for the tight, spongy crumb without making the cake feel heavy or bread-like.
Granulated Sugar: 3 cups (600g). Essential for moisture retention and creating that soft, tender bite.
Boiling Water or Hot Coffee: 1.5 cups (360ml). The heat “blooms” the cocoa powder, releasing the deepest flavor notes and ensuring a smooth batter.
Vegetable Oil: 0.75 cups (180ml). Oil stays liquid at room temperature, ensuring your Midnight Fudge Cake remains moist for days, unlike butter-based cakes that can dry out.
Buttermilk: 1.5 cups (360ml). The acidity reacts with the leavening agents to create a soft, spongy lift and a slight tang that balances the sugar.
Eggs: 3 large eggs. These provide protein for structure and emulsifiers for a smooth, uniform batter.
Baking Powder & Soda: 1.5 teaspoons each. This dual-action leavening ensures the triple layers rise evenly and maintain their height.
Vanilla Extract & Salt: 1 tablespoon vanilla and 1.5 teaspoons salt. These act as flavor enhancers, making the chocolate taste more like… well, chocolate!
Crafting the Thick Glossy Fudge Frosting
The frosting is what transforms this from a simple dessert into a Midnight Fudge Cake. We want a heavy, textured consistency that allows for deep spatula swirls.
Unsalted Butter: 1.5 cups (340g), softened. This forms the creamy base of our fudge frosting.
Powdered Sugar: 6 cups (720g). Sifted to ensure there are no lumps in your glossy finish.
Dark Cocoa Powder: 1 cup (90g). Again, use Dutch-processed for that midnight aesthetic.
Heavy Cream: 0.5 cups (120ml). This creates the “pourable-yet-thick” fudge consistency that catches the light.
Corn Syrup (Optional): 1 tablespoon. A professional baker’s secret to achieving that ultra-glossy sheen that stays shiny even after the cake is sliced.
Step-by-Step Instructions for Triple-Layer Perfection
1. Prepare the Dark Cocoa Base
Preheat your oven to 350°F (175°C). Grease three 8-inch (20cm) round cake pans and line the bottoms with parchment paper. This is crucial for ensuring the layers release cleanly for that professional architecture.
In a large mixing bowl, whisk together the flour, sugar, cocoa powder, baking powder, baking soda, and salt. Ensure there are no large clumps of cocoa, as these will ruin the tight crumb of your Midnight Fudge Cake.
2. Emulsify the Wet Ingredients
Add the eggs, buttermilk, vegetable oil, and vanilla extract to the dry ingredients. Mix on medium speed for about 2 minutes. The batter will be thick at this stage.
Reduce the speed and slowly pour in the boiling water or hot coffee. The batter will become very thin—this is exactly what you want for a moist, spongy result. The hot liquid helps dissolve the cocoa completely.
3. The Baking Phase
Distribute the batter evenly among the three prepared pans. Visual Cue: The batter should look dark, thin, and glossy. Bake for 30-35 minutes.
Test the center with a toothpick; it should come out clean or with just a few moist crumbs. Avoid overbaking, as we want to maintain the “decadent” moisture profile mentioned in our visual blueprint.
Cool the cakes in the pans for 10 minutes, then transfer to a wire rack to cool completely. The cakes must be stone-cold before frosting, or the heavy fudge swirls will slide off.
4. Whipping the Glossy Fudge Frosting
In a stand mixer, beat the softened butter and cocoa powder until smooth. Gradually add the powdered sugar one cup at a time, alternating with splashes of heavy cream.
Once all ingredients are added, whip on high speed for 3-5 minutes. Sensory Cue: The frosting should transition from dull to a high-gloss sheen and feel heavy and stable on the spatula.
If you love this frosting, you might enjoy using it as a chocolate mousse cake filling (coming soon) for even more texture!
5. Assembling the Triple Layers
Place the first layer on a simple white ceramic plate. Spread a thick layer of frosting to the edges. Top with the second layer and repeat.
Place the final layer on top. Cover the entire exterior of the Midnight Fudge Cake with a “crumb coat” (a thin layer of frosting) and chill for 15 minutes. This locks in the crumbs so the final layer remains pristine.
6. Creating the Textured Swirls
Apply the remaining frosting generously. Use a small offset spatula to create thick, textured swirls throughout the top and sides. The goal is to catch the light, creating highlights and shadows in the glossy finish.
For a beautiful presentation, try pairing this with the aesthetic of a Neapolitan Cake if you’re hosting a large dessert party.
Expert Tips for the Best Midnight Fudge Cake
- Room Temperature Ingredients: Ensure your eggs and buttermilk are at room temperature to create a seamless emulsion in the batter.
- Don’t Skip the Sifting: Sift your cocoa and powdered sugar to avoid tiny white or brown dots in your otherwise perfect Midnight Fudge Cake.
- The Hot Coffee Trick: Even if you don’t like coffee, use it! It doesn’t make the cake taste like coffee; it simply intensifies the chocolate notes to a “midnight” level.
- Natural Daylight Photography: To capture the sheen of the frosting like in our prompt, photograph your cake near a window during the day. The side-lighting will make those spatula swirls pop.
Looking for a different flavor profile? Check out our pistachio pineapple cake for a tropical twist.
Storage and Freezing Guidelines
Room Temperature: This cake is so moist it can stay in an airtight container at room temperature for up to 3 days. The frosting acts as a seal for the sponge.
Refrigeration: If your kitchen is warm, store the Midnight Fudge Cake in the fridge. However, let it sit out for 30 minutes before serving so the fudge frosting softens to its glossy, decadent state.
Freezing: You can freeze individual slices wrapped tightly in plastic wrap and foil for up to 3 months. Thaw overnight in the refrigerator.
What to Serve With This Decadent Cake
Because the Midnight Fudge Cake is so rich, it pairs beautifully with high-contrast flavors:
- A cold glass of whole milk or a bitter espresso.
- Fresh raspberries or strawberries to cut through the heavy fudge.
- A scoop of vanilla bean ice cream (similar to a hot fudge sundae brownie cheesecake vibe).
Frequently Asked Questions
Yes, you can use two 9-inch pans instead of three 8-inch pans. The baking time may increase by 5-8 minutes, so keep a close eye on the center toothpick test.
Not at all! The coffee acts as a flavor catalyst that heightens the perception of chocolate. If you prefer not to use coffee, boiling water works perfectly well to bloom the cocoa.
The gloss comes from the combination of high-fat heavy cream and a tablespoon of corn syrup. Additionally, whipping the frosting at the end incorporates just enough air to catch the light without making it fluffy like buttercream.
The ‘Midnight’ designation comes from the use of Dutch-processed cocoa powder, which is alkalized to create a darker, near-black color and a smoother, more intense chocolate flavor compared to natural cocoa.
Usually, dry cake is a result of overbaking or using too much flour. Ensure you measure your flour using the ‘spoon and level’ method or a kitchen scale, and pull the cake out as soon as the toothpick comes out clean.
The Ultimate Midnight Fudge Cake Recipe
Midnight Fudge Cake with Glossy Chocolate Frosting
Ingredients
Equipment
Method
- Whisk flour, sugar, cocoa, baking powder, baking soda, and salt in a large bowl.
- Mix in eggs, buttermilk, oil, and vanilla. Slowly stir in boiling water until batter is smooth.
- Divide batter into three 8-inch pans. Bake at 350°F for 30-35 minutes.
- Cool in pans for 10 minutes, then move to wire racks to cool completely.
- Whip butter and cocoa, then add sugar and cream until glossy and thick.
- Stack layers with frosting, then cover the outside with heavy spatula swirls for texture.
Notes
Apply a crumb coat before the final frosting layer for a clean look.
Save This Recipe to Pinterest!
Did you make this Midnight Fudge Cake? We want to see your textured spatula swirls! Save this recipe to your favorite dessert board on Pinterest so you never lose it. Follow Noudish_Recipes for more decadent, smartphone-ready treats.
Leave a 5-star rating in the comments below and upload a photo of your slice. Your feedback helps our community grow and ensures every home cook finds their way to chocolate heaven!