There is nothing quite like the aroma of Brown Butter Chocolate Chip Cookies wafting through a kitchen. These aren’t just your standard cookies; they are a masterclass in texture and depth. By browning the butter until it reaches a nutty, toasted perfection, we elevate the humble chocolate chip cookie into a gourmet experience that rivals the best professional bakeries.
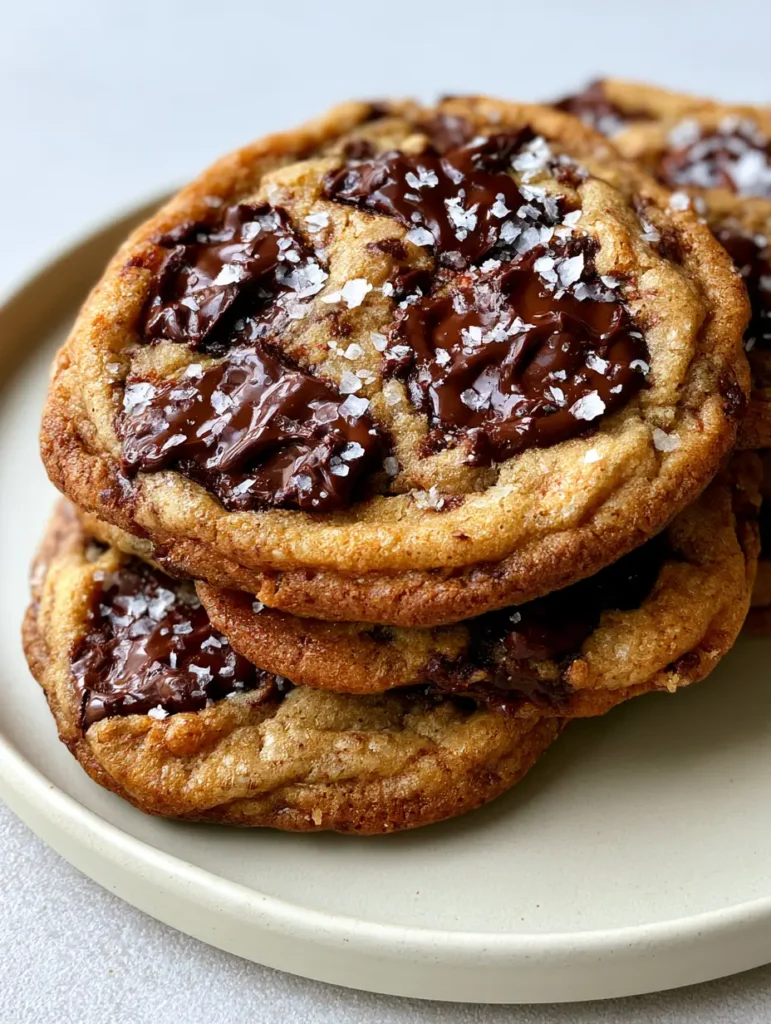
When you take your first bite of these Brown Butter Chocolate Chip Cookies, you are met with a symphony of textures. The edges are ultra-crispy and rippled, providing a satisfying crunch that gives way to a soft, chewy, and almost fudge-like center. Every mouthful is punctuated by large, irregular pools of melted dark chocolate and a delicate dusting of flaky sea salt that balances the intense richness of the toasted butter dough.
This recipe has been meticulously designed for the Pinterest-scrolling home cook who demands visual perfection and professional flavor. Whether you are looking for a weekend project or the ultimate crowd-pleaser for your next gathering, these cookies deliver on every single promise. Let’s dive into the culinary science that makes these cookies the last recipe you’ll ever need.
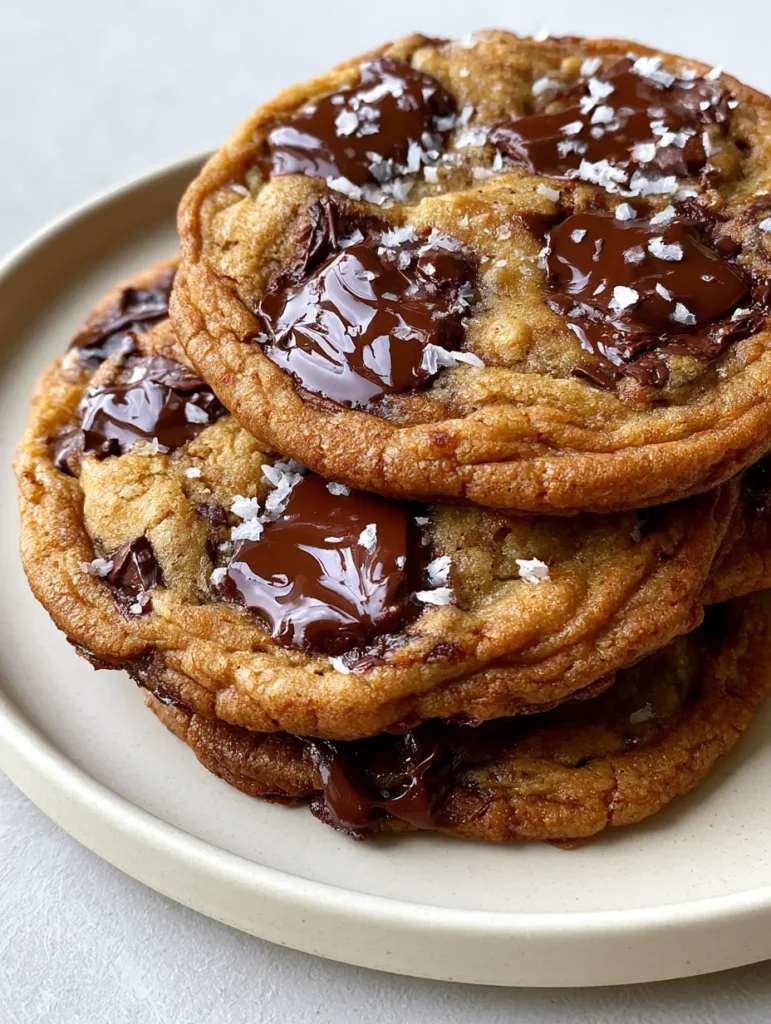
Why These Are the Ultimate Brown Butter Chocolate Chip Cookies
- The Nutty Complexity: Browning the butter creates toasted specks of milk solids that infuse the dough with a deep, toffee-like flavor profile.
- Rippled Edge Technology: Using a specific “pan-banging” technique ensures those iconic, crispy ridges that look stunning on camera.
- Melted Chocolate Pools: By using chopped chocolate chunks instead of chips, we create glossy, liquid reservoirs of cocoa goodness.
- The Salty Finish: A final sprinkle of flaky white sea salt crystals cuts through the sugar and highlights the Brown Butter Chocolate Chip Cookies‘ richness.
- Perfect Chew: A precise ratio of brown sugar to granulated sugar ensures a soft, moist center that stays fresh for days.
The Secret Ingredients for Success
To achieve the bakery-style results seen in our visual blueprint, each ingredient serves a specific culinary purpose. Do not skip the quality of your chocolate here!
Unsalted Butter (1 cup / 227g): We start with high-quality unsalted butter to control the salt content. Browning the butter removes water and toasts the solids, creating the “toasted butter specks” visible in the dough.
Dark Chocolate Chunks (10 oz / 285g): Skip the chips. Chopping a bar of high-quality dark chocolate creates those “large, irregular pools” that look so enticing. For a different flavor profile, you could even pair these with a side of Bavarian Cream for dipping.
Light Brown Sugar (1 ¼ cups / 250g): Brown sugar provides the moisture and molasses notes essential for that “soft chewy center” we are aiming for.
Granulated Sugar ( ½ cup / 100g): This helps create the “crispy rippled edges” by encouraging caramelization and spread during the baking process.
Large Eggs (2): Ensure they are at room temperature. They provide the structure and lift, acting as the glue for our Brown Butter Chocolate Chip Cookies.
Pure Vanilla Extract (1 tbsp / 15ml): A generous amount of vanilla complements the nutty notes of the browned butter perfectly.
All-Purpose Flour (2 ¼ cups / 280g): This provides the necessary foundation. Measuring by weight is highly recommended for the most accurate “thick, chewy” texture.
Baking Soda (1 tsp / 5g): This reacts with the acidic brown sugar to provide lift and help the cookies brown beautifully.
Fine Sea Salt ( ½ tsp / 3g): Integrated into the dough to enhance all the other flavors. If you love savory-sweet combos, you might also enjoy our Cowboy Butter Recipe.
Flaky Sea Salt (For Garnish): The “fine dusting of flaky white sea salt crystals” added at the very end is the visual and flavor hallmark of this recipe.
Step-by-Step: Mastering the Brown Butter Technique
1. Achieving the Perfect Nutty Brown Butter
In a medium saucepan over medium heat, melt your 1 cup (227g) of butter. Swirl the pan constantly. The butter will foam, then subside, and eventually, you will see little brown bits forming at the bottom.
Visual Cue: Watch for a deep golden-brown hue and a scent reminiscent of toasted hazelnuts. Immediately remove from heat and transfer to a heat-proof bowl to stop the cooking process. Ensure you scrape every single one of those toasted butter specks into the bowl!
2. Creaming the Toasted Butter and Sugars
Allow the browned butter to cool slightly but remain liquid. Add your brown sugar (250g) and granulated sugar (100g). Whisk vigorously for about 2 minutes.
Sensory Cue: The mixture should look like wet sand and smell intensely of caramel. Incorporate the eggs and vanilla, whisking until the batter becomes slightly lighter in color and glossy.
3. Folding the Dry Ingredients
Sift in your flour (280g), baking soda (5g), and fine sea salt (3g). Use a spatula to fold the mixture until just a few streaks of flour remain. Over-mixing at this stage will lead to a tough cookie, rather than the “soft moist center” we desire.
4. The Chocolate Chunk Integration
Fold in your 10 oz (285g) of chopped dark chocolate. Ensure the chunks are distributed evenly so every bite of the Brown Butter Chocolate Chip Cookies has a “glossy and liquid” chocolate pool.
5. The Essential Chill Period
Cover the dough and refrigerate for at least 2 hours, or ideally overnight. This allows the flour to fully hydrate and the flavors of the brown butter to deeply penetrate the dough. This is the secret to the “deep golden-brown hue” after baking.
Baking for Texture: The Pan-Banging Secret
Preheat your oven to 350°F (175°C). Line a heavy baking sheet with parchment paper. Scoop large mounds of dough (about 3 tbsp / 60g each) onto the sheet, spacing them well apart.
Creating the Ripples: Halfway through the 10-minute baking time, lift the side of the baking sheet about 4 inches and let it drop against the oven rack. This “pan-banging” causes the edges to collapse and creates those beautiful “crispy rippled edges” seen in the photos.
Repeat this every 2 minutes until the cookies are set at the edges but still look slightly underdone in the center. While waiting for them to cool, you could browse our Banana Pudding Fluff Salad for another dessert idea.
Expert Tips for Success
- Quality of Chocolate: Use a high-quality chocolate bar (60% cacao or higher) rather than chips. Chips contain stabilizers that prevent them from forming those “liquid pools.”
- Room Temp Eggs: Cold eggs can seize the liquid brown butter. Set them in a bowl of warm water for 5 minutes if you’re in a rush.
- Don’t Skimp on the Chill: A cold dough prevents the Brown Butter Chocolate Chip Cookies from spreading too thin, ensuring they remain “thick and chewy.”
- The Salt Timing: Apply the flaky sea salt immediately after the cookies come out of the oven so the crystals adhere to the melted chocolate.
Storage, Reheating & Freezing
Storage: Keep your Brown Butter Chocolate Chip Cookies in an airtight container at room temperature for up to 4 days. To maintain the “soft chewy centers,” place a piece of white bread in the container to absorb excess moisture.
Freezing: You can freeze the baked cookies for up to 3 months. Alternatively, freeze the individual dough balls and bake them from frozen, adding 2 minutes to the bake time. This is perfect for when you need a quick treat after a savory meal like our Chicken Zucchini Bake.
What to Serve With These Cookies
While a cold glass of milk is the classic choice, these cookies are sophisticated enough for a dessert platter. They pair beautifully with a sharp espresso or a scoop of vanilla bean gelato. If you are hosting a full dinner, consider a light main course like Brown Sugar Glazed Salmon to balance the indulgence of the dessert.
Frequently Asked Questions
While you can use chips, chopped chocolate chunks are preferred because they lack stabilizers, allowing them to melt into large, glossy pools of liquid chocolate.
A minimum of 2 hours is required, but 24 hours is best. Chilling hydrates the flour and intensifies the brown butter flavor, ensuring a thick and chewy texture.
Pan-banging involves lifting and dropping the baking sheet against the oven rack during baking. This causes the edges to set and then collapse, creating the beautiful rippled ridges.
Excessive spreading usually happens if the butter was too hot when mixed or if the dough wasn’t chilled long enough. Ensure the dough is firm and cold before baking.
Browning the butter removes water and toasts the milk solids, creating a deep, nutty flavor and those characteristic ‘toasted specks’ that elevate the dough’s profile far beyond standard butter.
The Ultimate Brown Butter Chocolate Chip Cookies Recipe
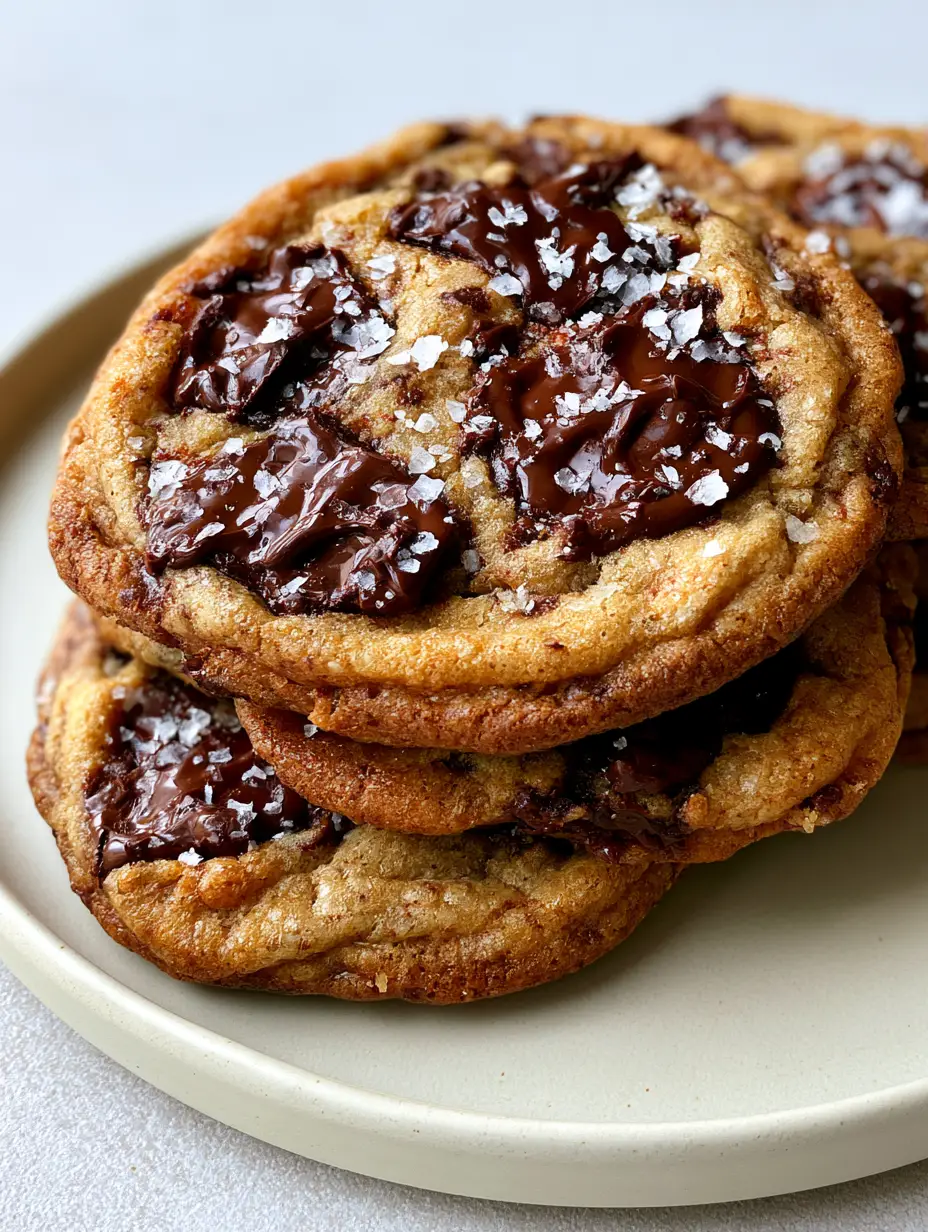
Brown Butter Chocolate Chip Cookies with Crispy Rippled Edges
Ingredients
Equipment
Method
- Melt butter in a saucepan over medium heat, swirling until toasted brown specks appear and it smells nutty. Transfer to a bowl to cool.
- Whisk browned butter with both sugars for 2 minutes. Add eggs and vanilla, whisking until glossy.
- Fold in dry ingredients, followed by chopped dark chocolate chunks.
- Refrigerate dough for at least 2 hours to develop flavor and ensure a thick, chewy texture.
- Bake at 350°F (175°C) for 10 minutes. Bang the pan against the rack halfway through to create rippled edges.
- Sprinkle with flaky sea salt while chocolate is still melted and liquid.
Notes
For the best ripples, use a light-colored heavy baking sheet.
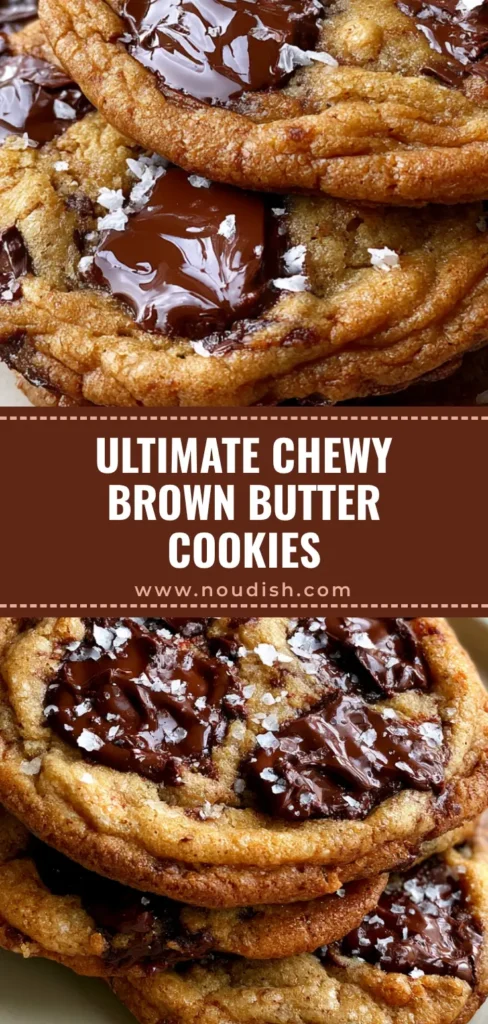
Save, Share, and Bake!
If you loved these Brown Butter Chocolate Chip Cookies, please save this recipe to your Pinterest boards so you can find it later! There is nothing we love more than seeing your kitchen creations, so feel free to share a photo of your rippled edges and melted chocolate pools in the comments below. Don’t forget to follow Noudish_Recipes for more high-flavor, visual-first recipes, and please leave a 5-star rating if these cookies became your new favorite!