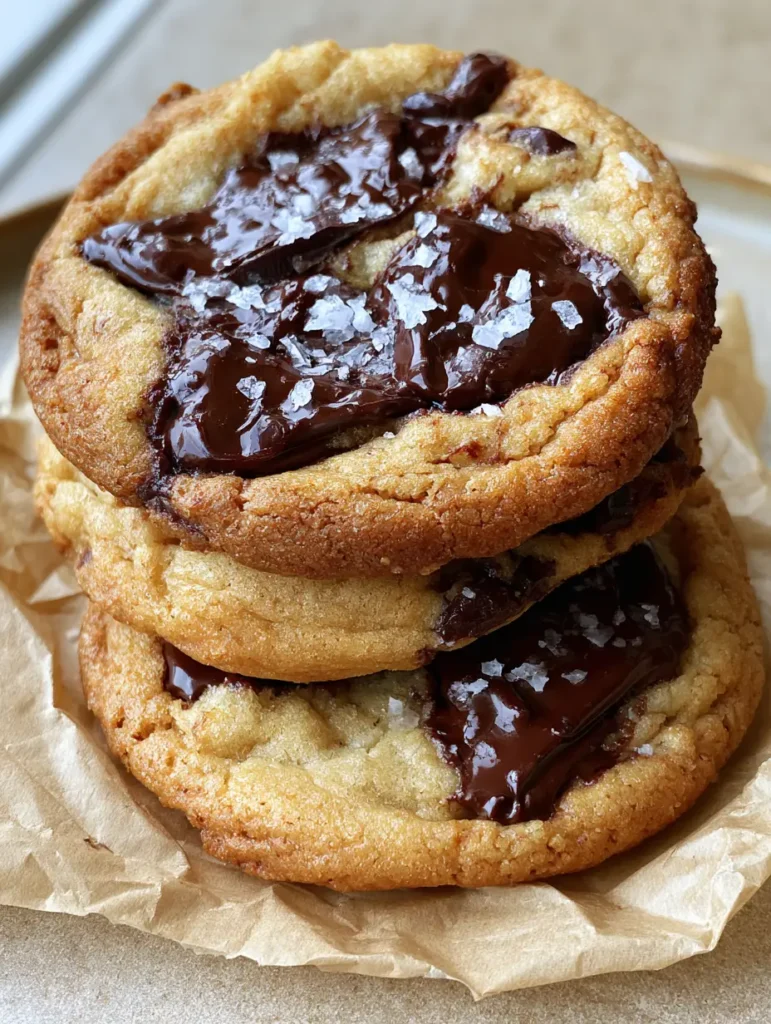
Brown Butter Chocolate Chip Cookies are the holy grail of home baking, offering a depth of flavor that a standard cookie simply cannot reach. If you are searching for that perfect balance of toasted golden-brown edges and soft-baked dough centers, you have arrived at the right place. These aren’t just cookies; they are a sensory experience characterized by nutty aromas, glossy pools of dark chocolate, and that signature flaky sea salt finish.
The secret to these viral-style cookies lies in the Maillard reaction. By browning the butter, we transform simple fats into a complex, toasted liquid gold that infuses every crumb. When paired with high-quality dark chocolate chunks, the result is a sophisticated treat that rivals any high-end bakery. Whether you are a seasoned baker or a newcomer, this guide will walk you through the nuances of creating rippled cookie edges that look as good as they taste.
Why These Are The Best Brown Butter Chocolate Chip Cookies
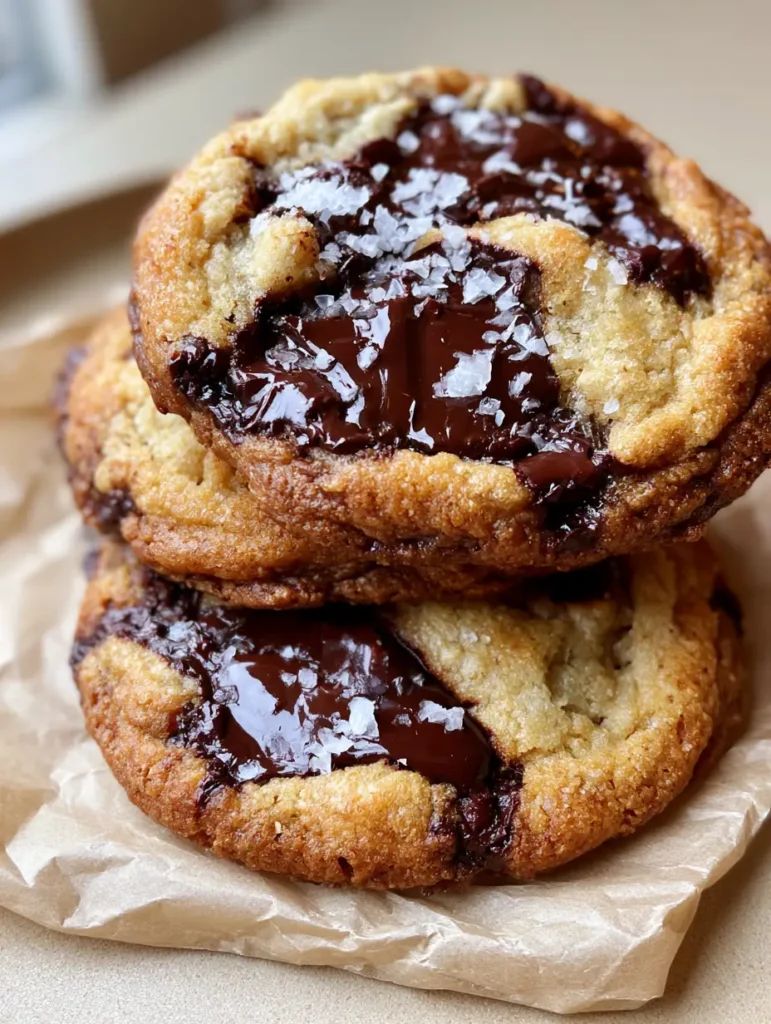
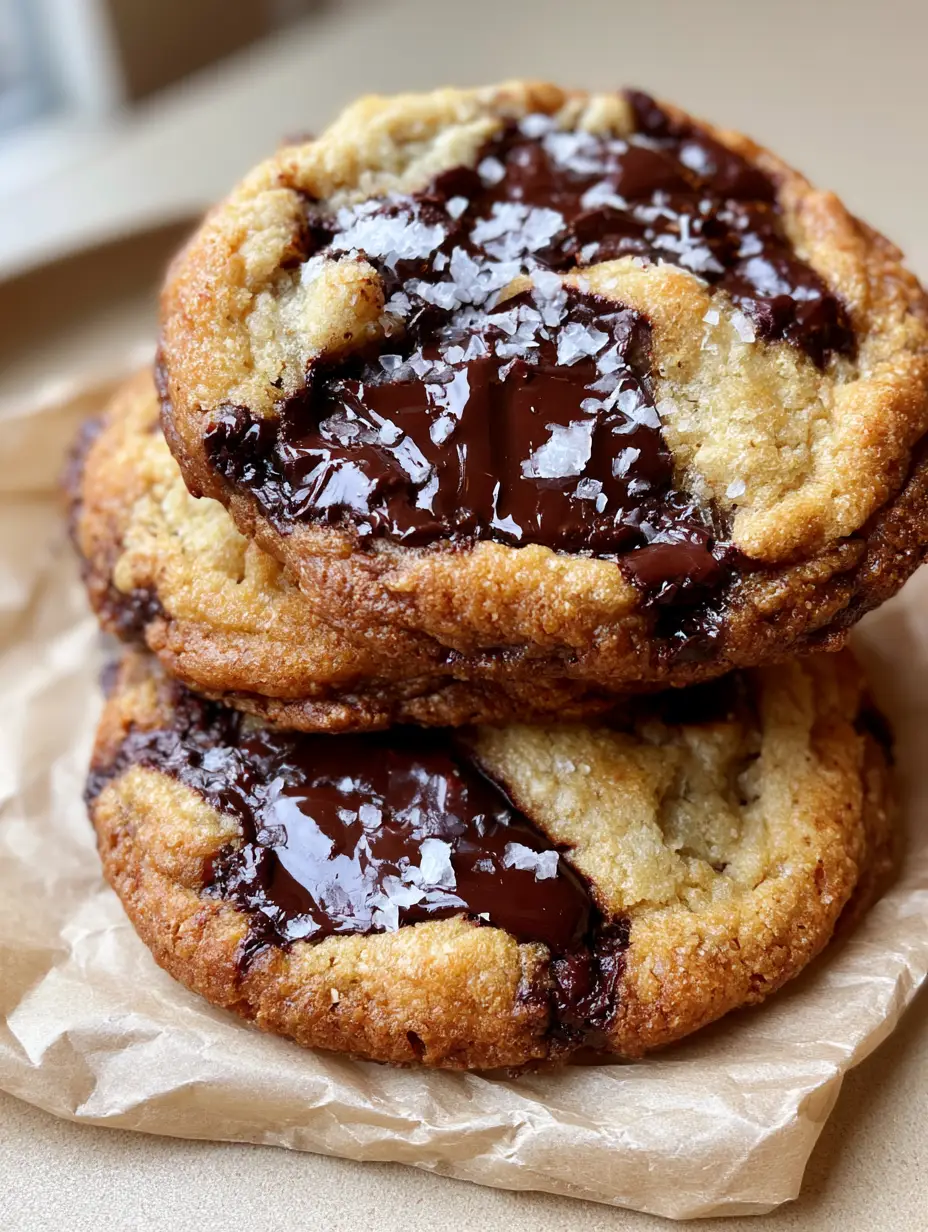
- The Texture Contrast: You get a satisfyingly crisp, toasted golden-brown rim with a center that remains pale, tender, and “fudgy.”
- Visual Appeal: The heavily rippled edges create a professional, artisanal look that is tailor-made for your Pinterest boards.
- Deep Flavor Profile: We use browned butter and melted dark chocolate chunks to ensure every bite is rich, nutty, and balanced.
- The Salty Finish: A fine garnish of white flaky sea salt crystals cuts through the sugar, elevating the dark chocolate notes.
Essential Ingredients for Success
To achieve the Visual Recipe Blueprint we are aiming for, the quality of your ingredients is paramount. Unlike standard recipes, we aren’t just mixing; we are building layers of flavor.
Unsalted Butter: 1 cup (227g). We will brown this to create a nutty base. If you enjoy experimenting with compound fats, you might find our cowboy butter recipe interesting for savory applications.
Dark Chocolate Chunks: 8 oz (225g). Use a high-quality bar (at least 70% cocoa) and chop it yourself. This creates those large, glossy pools seen in the photos, rather than the static shape of standard chips.
Sugars: 1 cup (200g) Dark Brown Sugar and 1/3 cup (65g) Granulated Sugar. The high ratio of brown sugar ensures the soft-baked dough centers stay moist and chewy.
Flour: 2 cups (250g) All-Purpose Flour. This provides the structure needed to support those thick, circular cookies.
Flaky Sea Salt: For garnishing. This provides the fine garnish of white crystals that makes the dark chocolate pop visually and on the palate.
Vanilla Extract & Espresso Powder: 1 tbsp vanilla and 1/2 tsp espresso powder. These “invisible” ingredients enhance the chocolate without making the cookies taste like coffee.
How to Brown Butter for Maximum Flavor
Step 1: The Transformation to Liquid Gold
Place your 1 cup (227g) of unsalted butter in a light-colored stainless steel pan over medium heat. Using a light-colored pan is critical so you can monitor the color change accurately.
As the butter melts, it will begin to foam and pop. This is the water evaporating. Stir constantly with a heat-proof spatula. Within 5-8 minutes, you will see toasted golden-brown specks forming at the bottom. The aroma will turn intensely nutty and caramel-like.
Step 2: Cooling the Brown Butter
Once the butter is a deep amber, immediately remove it from the heat and pour it into a heat-safe bowl, scraping all those brown bits—that’s the flavor! Let it cool for at least 15 minutes. It should be liquid but not piping hot when you add the sugars.
Mixing the Perfect Cookie Dough
Step 3: Creaming for Structure
Combine the cooled brown butter with your dark brown sugar and granulated sugar. Whisk vigorously for 2-3 minutes. You want the mixture to look slightly pale and aerated. This step helps create the rippled cookie edges later in the oven.
Add 1 large egg and 1 egg yolk (at room temperature) along with the vanilla. The extra yolk is the secret to the soft-baked dough centers. If you love this texture, you’ll also enjoy our Italian peach cookies which focus on delicate crumb structures.
Step 4: Folding in the Dark Chocolate
Sift in your dry ingredients: flour, baking soda, and a pinch of table salt. Use a spatula to fold until just a few streaks of flour remain. Now, toss in those melted dark chocolate chunks. Folding by hand prevents overworking the gluten, ensuring the cookies aren’t tough.
The Secret to Rippled Cookie Edges
Step 5: Chilling and Shaping
Scoop large mounds of dough—about 3 tablespoons (approx. 60g) per cookie. Place them on a tray and chill for at least 30 minutes. Chilling prevents the cookies from spreading too thin, keeping them thick and circular.
Step 6: The “Pan-Banging” Technique
Preheat your oven to 350°F (175°C). Line a tray with crumpled light-brown parchment paper. Bake the cookies for 10-12 minutes. For those heavily rippled edges, halfway through baking, lift the baking sheet and gently drop it against the oven rack. Repeat this 2-3 times during the final minutes of baking. This “bangs” the air out of the edges, creating those beautiful concentric circles.
Expert Tips for Visual Perfection
- The Chocolate Pool Trick: Save a few chunks of chocolate and press them into the tops of the dough balls right before they go into the oven. This guarantees large, glossy pools on the surface.
- The Cookie Cutter Swirl: If your cookies aren’t perfectly circular, place a large circular cookie cutter over the hot cookies immediately after they come out of the oven and move it in a circular motion to “scoot” the edges into a perfect shape.
- Salt Timing: Apply the flaky sea salt the second the cookies leave the oven so the crystals stick to the melted dark chocolate.
- Room Temp Ingredients: Ensure your eggs are at room temperature to prevent the brown butter from seizing during the mixing process.
How to Store and Freeze
To maintain the soft-baked dough centers, store these Brown Butter Chocolate Chip Cookies in an airtight container at room temperature for up to 4 days. Including a piece of white bread in the container is an old baker’s trick to keep them soft!
Freezing: You can freeze the baked cookies for up to 2 months. Alternatively, freeze the raw dough balls and bake them from frozen, adding 2 minutes to the bake time. This is a great way to have a “healthy” portion control, much like our healthy energy cookies for a quick snack.
What to Pair With These Cookies
While a cold glass of milk is classic, these rich cookies pair beautifully with a bitter espresso or a dark roast coffee. If you’re hosting a dessert party, consider serving these alongside a chocolate peanut butter cheesecake for the ultimate decadence.
For a lighter alternative after a heavy meal like brown sugar glazed salmon, these cookies provide a satisfyingly sweet and salty end to the night.
Frequently Asked Questions
You can, but chips contain stabilizers to hold their shape. Chopped dark chocolate bars melt into the dough, creating the signature glossy pools and superior texture.
Yes. Chilling the dough solidifies the fat, which prevents the cookies from over-spreading in the oven, ensuring a thick, circular shape with a soft center.
Use the ‘pan-banging’ technique. Gently lift and drop the baking sheet against the oven rack several times during the last few minutes of baking to collapse the rising edges.
Maldon or any flaky sea salt is best. The large, thin crystals provide a delicate crunch and a clean burst of saltiness that doesn’t overwhelm the palate.
Browning butter removes water content and toasts the milk solids, creating a concentrated nutty, caramel-like flavor profile that elevates the dough far beyond standard butter.
The Ultimate Brown Butter Chocolate Chip Cookie Recipe
Brown Butter Chocolate Chip Cookies with Rippled Edges
Ingredients
Equipment
Method
- Melt butter in a light-colored skillet over medium heat. Whisk until it foams, pops, and develops golden-brown specks with a nutty aroma.
- Transfer to a bowl and let cool for 15 minutes until warm but not hot.
- Whisk browned butter and sugars for 2-3 minutes. Add egg, yolk, and vanilla; whisk until smooth.
- Fold in flour, baking soda, and salt. Gently mix in dark chocolate chunks, leaving some for the top.
- Scoop 3-tbsp balls and chill for 30 minutes. Preheat oven to 350°F (175°C).
- Bake for 10-12 minutes. Bang the pan against the oven rack 3 times in the last 3 minutes to create ripples.
Notes
Use a high-quality chocolate bar rather than chips for the 'pool' effect.

Join the Noudish Community!
Did you achieve those heavily rippled edges? We want to see! Save this recipe to your Dessert Recipes board on Pinterest and follow Noudish_Recipes for more culinary inspiration. If you made these, please leave a 5-star rating in the recipe card above and upload a photo of your glossy chocolate pools in the comments below. Happy baking!