Oreo Sushi Rolls are the newest viral sensation taking over dessert boards, and it is easy to see why. This recipe transforms the classic chocolate sandwich cookie into an elegant, bite-sized delicacy that looks like high-end sushi but tastes like a creamy dream. If you are looking for a show-stopping treat that requires zero oven time, these rolls are the answer.
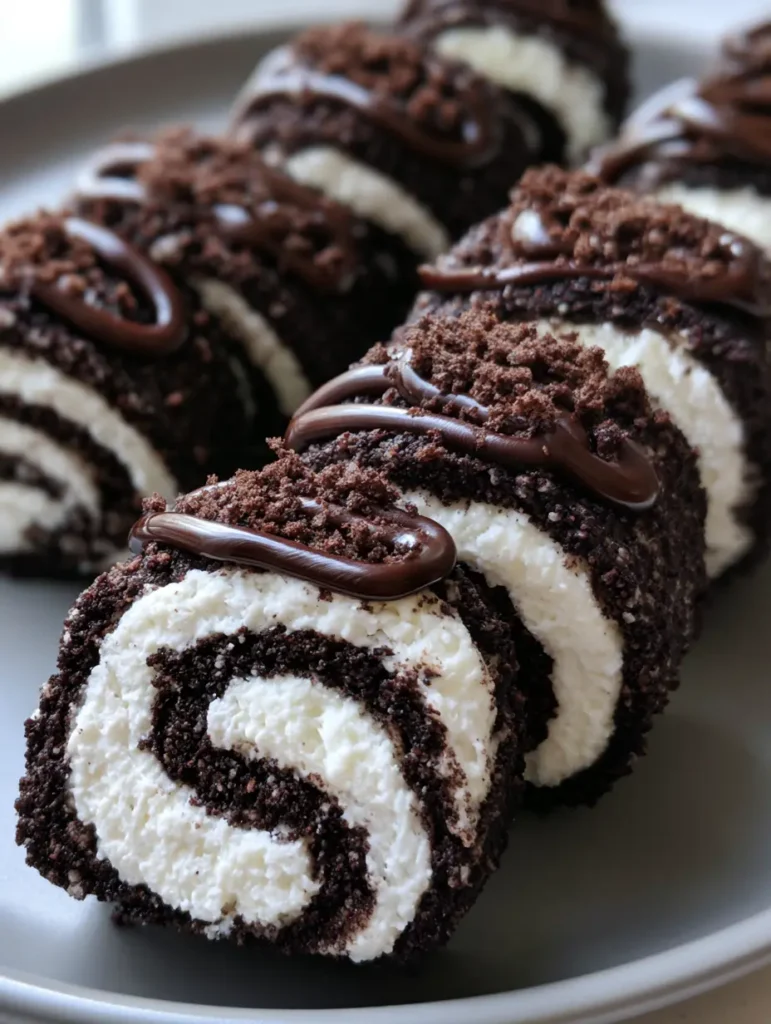
The beauty of the Oreo Sushi Rolls lies in the contrast of textures. You have a thin, dark, grainy outer layer made from deeply chocolatey cookie crumbs paired with a thick, smooth, bright white cream filling spiraled inside. It is a visual masterpiece that is just as fun to make as it is to eat, especially when topped with a glossy dark chocolate drizzle.
Whether you are hosting a party or just want a creative snack, these dessert rolls deliver on every front. Just like my mango sticky rice rolls, this recipe takes a familiar concept and gives it a playful, sweet twist that will have everyone asking for the recipe. Let’s dive into how to create these uniform, chocolatey cylinders perfectly every time.
Why You Will Love These Oreo Sushi Rolls
- Visual Texture: The matte, slightly moist cookie exterior provides a stunning contrast to the opaque, dense cream filling.
- No-Bake Ease: No ovens, no complicated equipment—just simple techniques for a professional-grade dessert.
- Gourmet Finish: The combination of a melted dark chocolate drizzle and fine chocolate cookie crumbs makes these look like they came from a high-end patisserie.
- Customizable: Much like my cowboy cream cheese dip, you can adjust the sweetness and textures to suit your specific cravings.
The Secret Ingredients for Perfect Oreo Sushi
To achieve that specific “sushi” look, we need to separate the components of the cookie to treat them as individual “building blocks.”
Chocolate Sandwich Cookies: You will need 28-36 standard Oreos. These provide both the dark, grainy “nori” (outer layer) and the base for our sweet filling.
Milk: 4-5 tablespoons (60-75ml) of whole milk. This acts as the binder for your cookie crumbs, turning them into a pliable, matte and slightly moist dough.
Cream Cheese: 4 ounces (115g) of softened cream cheese. This adds stability and a slight tang to the filling, ensuring it is dense and opaque enough to roll without oozing.
Powdered Sugar: 1/2 cup (60g) of sifted powdered sugar. This sweetens the cream filling and helps maintain that bright white color that pops against the dark chocolate.
Dark Chocolate: 1/4 cup (45g) of dark chocolate chips. When melted, this creates the glossy dark chocolate drizzle that zig-zags across the top for a professional finish.
Step-by-Step: Crafting Your Oreo Sushi Rolls
1. Prepare the Cookie “Dough”
Start by separating the cream filling from the chocolate cookie wafers. Place the white cream in one bowl and the chocolate cookies in a food processor. Pulse the cookies until they become fine, dusty chocolate cookie crumbs.
Set aside 2 tablespoons of these crumbs for the final garnish. In a large bowl, combine the remaining crumbs with the milk, adding one tablespoon at a time. Mix until a dark, grainy, and pliable dough forms. It should be moist enough to hold together but matte in appearance.
2. Whip the Bright White Filling
Take the reserved cookie cream and combine it with the softened cream cheese and powdered sugar. Use a hand mixer to beat the mixture until it is thick, smooth, and perfectly opaque. This filling needs to be stiff enough to hold its shape when sliced into uniform cylinders.
3. The Rolling Technique
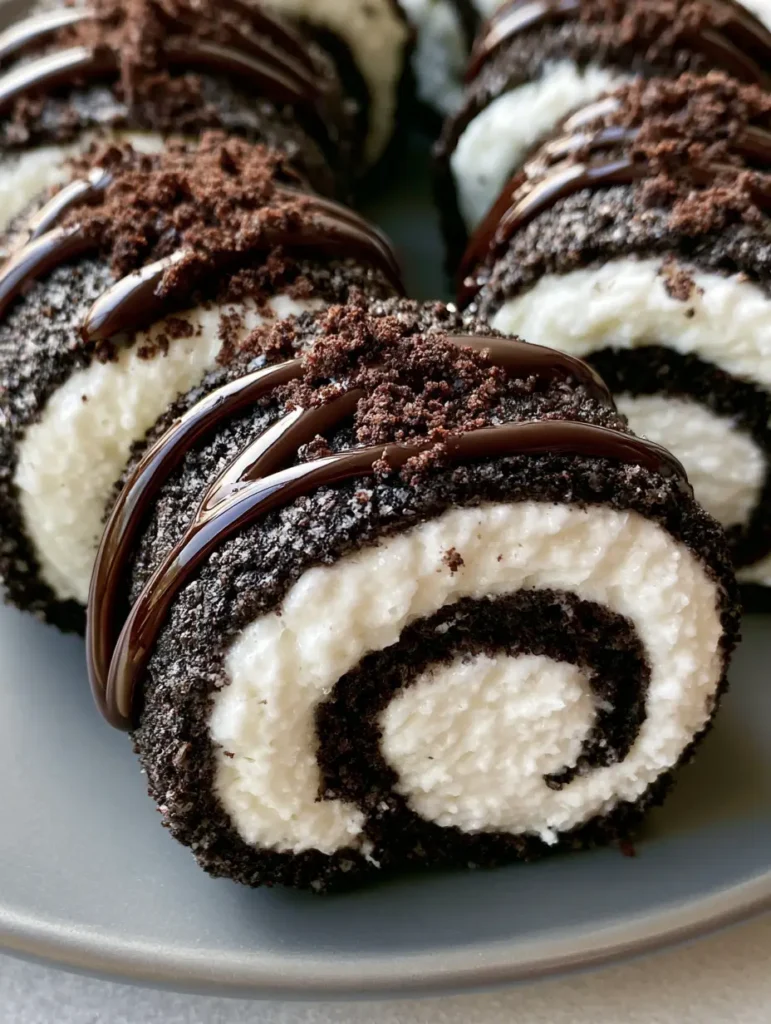
Place a large piece of plastic wrap on your counter. Lay the chocolate cookie dough on the wrap and place another piece of plastic on top. Roll the dough into a thin rectangle, approximately 1/8 inch (3mm) thick. This creates the “nori” layer of your Oreo Sushi Rolls.
Remove the top layer of plastic. Spread the white cream filling evenly across the cookie layer, leaving a small border at the edges. Using the bottom layer of plastic wrap to assist you, carefully roll the dough into a tight log. Ensure the spiral is tight so the bright white cream filling is clearly visible in the center once cut.
4. Slicing and Garnishing
Wrap the log tightly in plastic and chill in the refrigerator for at least 1 hour. This is a crucial step to ensure the Oreo Sushi Rolls keep their shape. Once firm, use a sharp, warm knife to slice the log into uniform cylinders about 1 inch (2.5cm) wide.
Arrange the rolls on a neutral plate. Melt your dark chocolate and use a spoon or piping bag to create a glossy dark chocolate drizzle in a zig-zag pattern across the tops. Immediately sprinkle the reserved fine chocolate cookie crumbs over the drizzle so they stick.
Expert Tips for Viral-Worthy Success
- Temperature Control: Ensure your cream cheese is truly at room temperature before mixing to avoid lumps in your thick, smooth filling.
- The Clean Cut: Wipe your knife with a warm, damp cloth between every single slice. This prevents the dark cookie layer from smearing into the bright white filling.
- Dough Consistency: If your cookie dough is too crumbly, add milk 1/2 teaspoon at a time. It should feel like modeling clay—moist but not sticky.
- Chill Time: Do not skip the 1-hour chill. If the rolls are too soft when you cut them, they will flatten into ovals rather than remaining uniform cylinders.
Storage and Make-Ahead Instructions
These Oreo Sushi Rolls are an excellent make-ahead dessert. You can store the unsliced log in the refrigerator for up to 3 days. Once sliced, keep the rolls in an airtight container in the fridge to maintain that matte and slightly moist cookie texture. I do not recommend freezing these, as the texture of the cream cheese filling can become slightly grainy upon thawing.
What to Serve With Dessert Sushi
Since these are rich and chocolatey, they pair beautifully with a light, fruity side. Consider serving them alongside a banana pudding fluff salad for a full dessert spread. If you want to lean into the “sushi” theme, serve them with a side of strawberry coulis (as “soy sauce”) and shaved green apple (as “wasabi”). For a more decadent pairing, try them with a dollop of Bavarian cream.
Frequently Asked Questions
Standard Oreos are preferred because they have a better cookie-to-cream ratio for creating the dough. If you use Double Stuf, you may need less milk for the dough and more cream cheese for the filling stability.
While a food processor creates the finest, most uniform ‘dusty’ crumbs for the dough, you can also place the cookies in a gallon-sized freezer bag and crush them with a rolling pin until no large chunks remain.
For the best glossy finish, melt high-quality dark chocolate chips with a tiny drop of coconut oil. This keeps the drizzle shiny and prevents it from snapping too hard when you bite into the roll.
They stay fresh in an airtight container in the refrigerator for up to 3 days. The cookie layer will soften slightly over time, but they remain delicious.
Cracking usually means the dough is too dry. Add milk 1/2 teaspoon at a time until the dough feels like pliable clay. Also, ensure you are rolling it between two sheets of plastic wrap to maintain moisture.
The Final Oreo Sushi Rolls Recipe
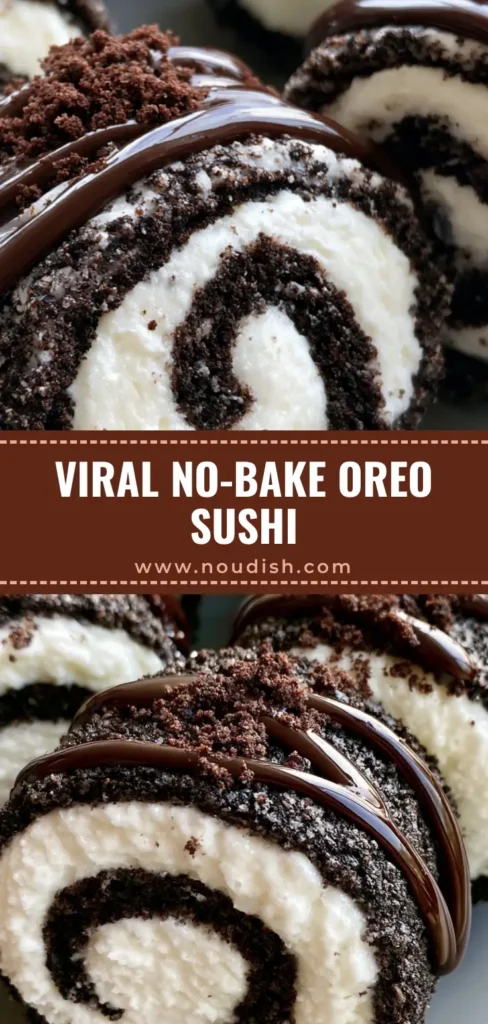
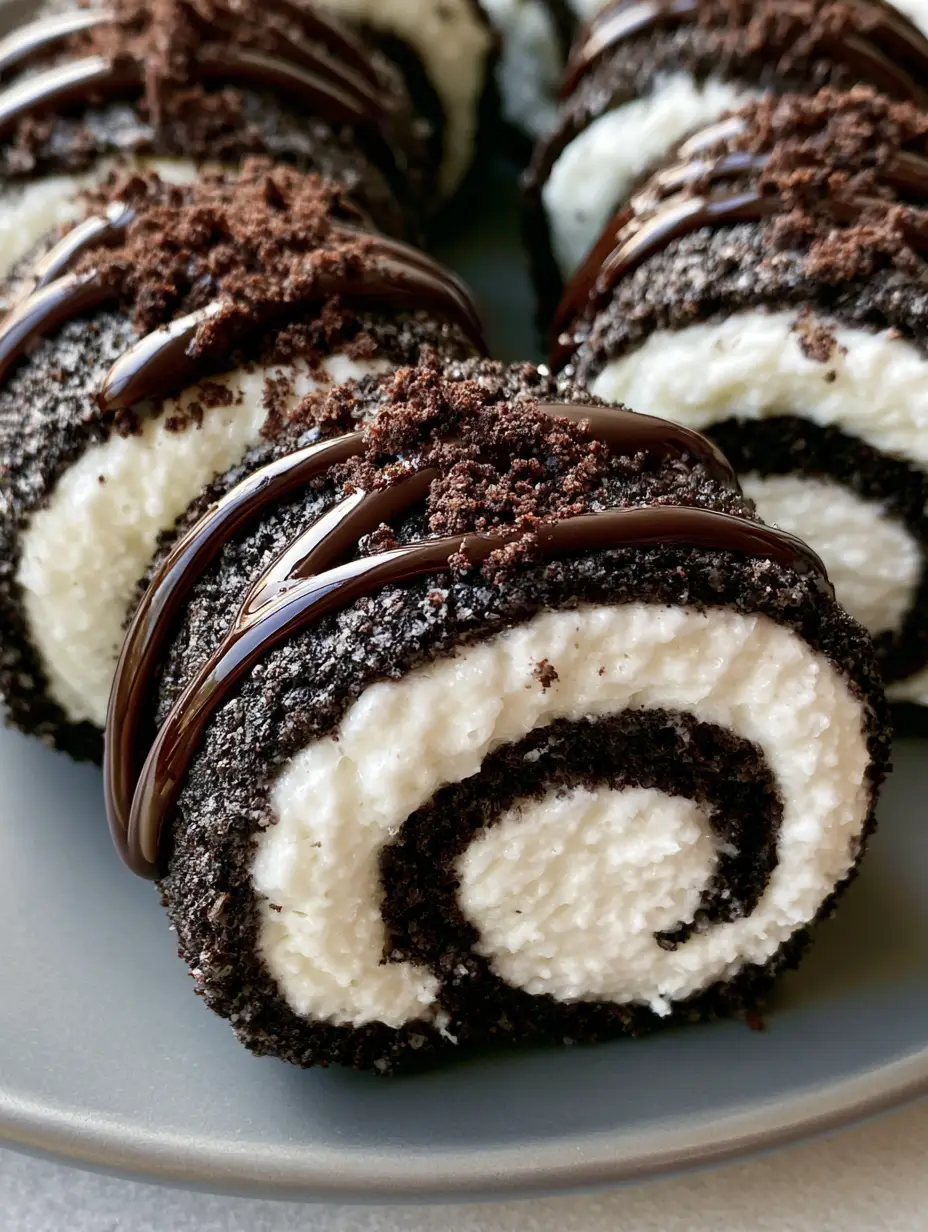
Oreo Sushi Rolls: The Ultimate No-Bake Viral Dessert
Ingredients
Equipment
Method
- Separate the cream from the Oreo cookies. Process the black wafers into fine crumbs. Set aside 2 tablespoons for garnish.
- Combine remaining crumbs with milk until a matte, grainy dough forms. Roll between plastic wrap into a thin rectangle.
- Combine the Oreo cream centers with softened cream cheese and powdered sugar. Beat until smooth and opaque.
- Spread the filling over the cookie dough. Roll tightly using the plastic wrap. Chill for at least 1 hour.
- Slice into uniform cylinders. Drizzle with melted dark chocolate and sprinkle with reserved cookie crumbs.
Notes
Ensure cream cheese is fully softened to avoid lumps in the white spiral.
Join the Community!
Did these Oreo Sushi Rolls go viral in your kitchen? I would love to see your results! Save this recipe to your Pinterest dessert board so you never lose it. Follow Noudish_Recipes for more creative treats, and if you made these, please snap a photo and share it in the comments below. Don’t forget to leave a 5-star rating if you loved this no-bake chocolate fix!