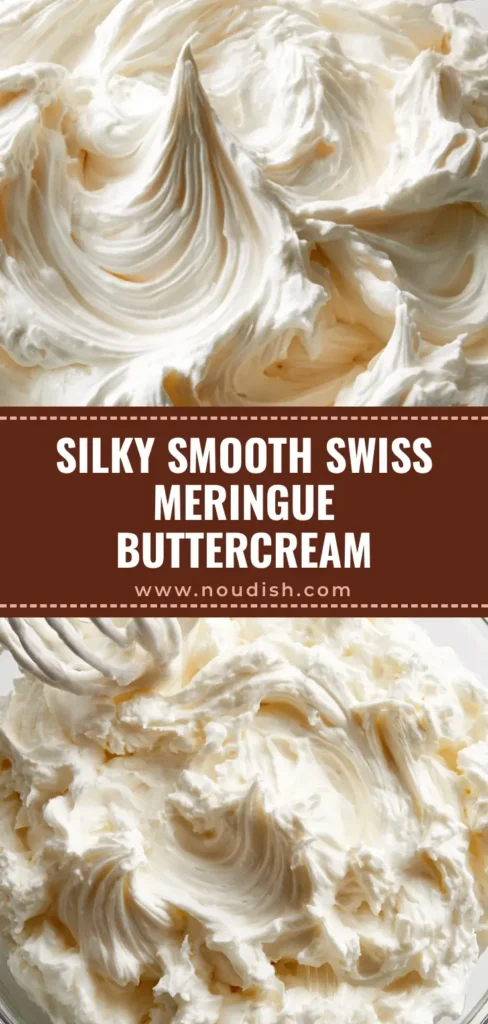
This Swiss Meringue Buttercream Recipe is the holy grail of cake decorating, offering a marshmallow-like sweetness and a buttery, velvet finish that is far superior to standard American frosting. If you have been searching for a frosting that is stable enough for tiered cakes but light enough to eat by the spoonful, you have found it. This recipe creates a whipped glossy white buttercream that holds stiff meringue peaks with incredible precision.
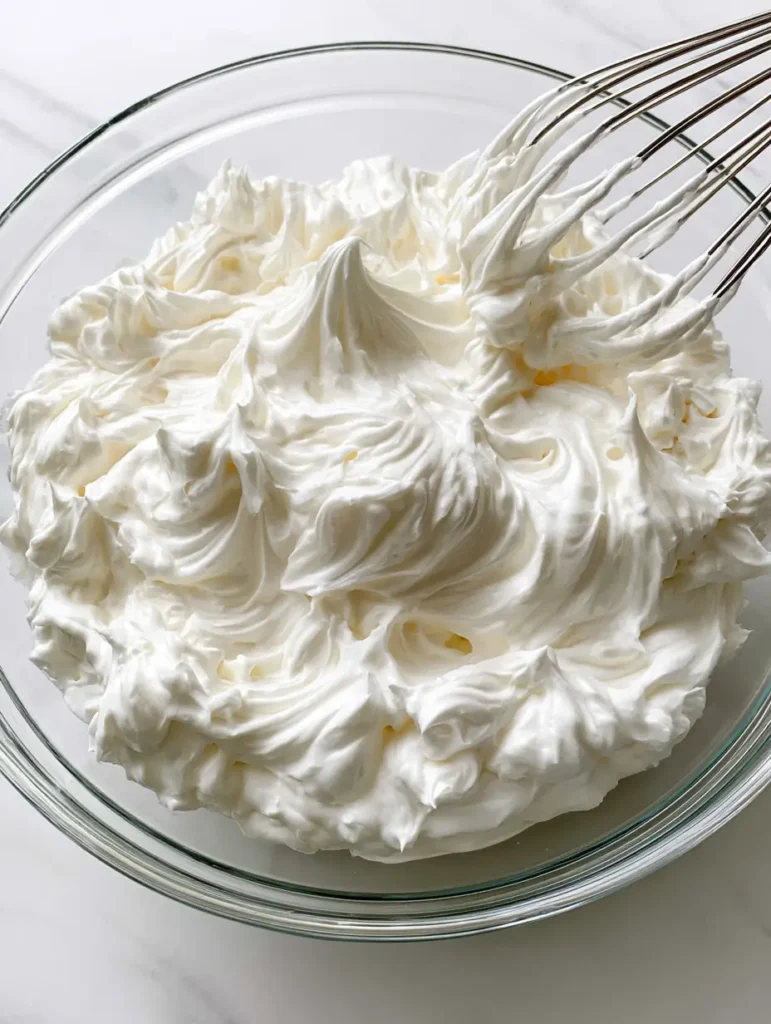
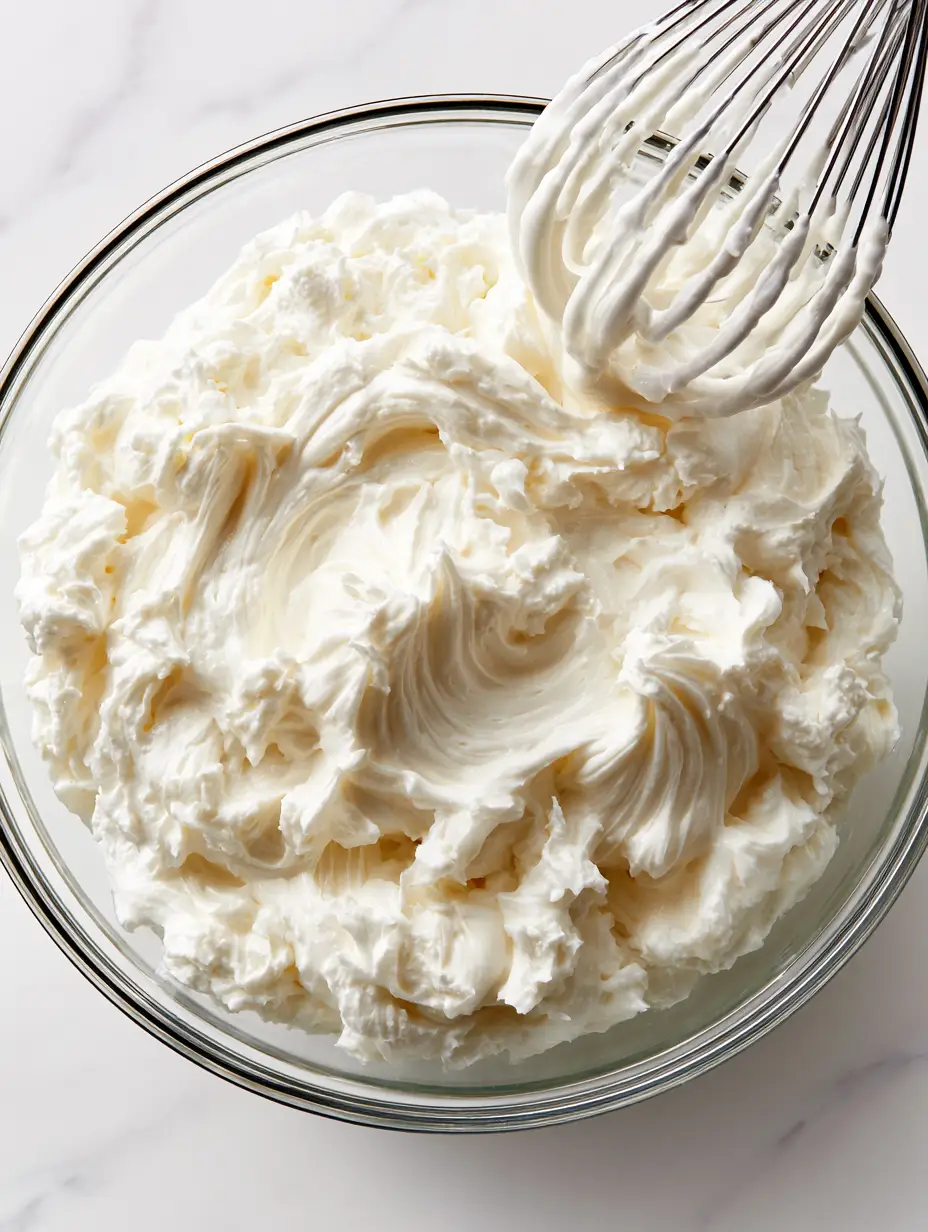
The beauty of this Swiss Meringue Buttercream Recipe lies in its texture; it is remarkably smooth and lacks the “gritty” sugar feel often found in other recipes. When you look into your clear glass mixing bowl, you will see a transformation from liquid egg whites to a voluminous, cloud-like masterpiece. It is the perfect canvas for flavors, colors, and intricate piping work.
Why This Swiss Meringue Buttercream Recipe is a Game Changer
- Ultra-Glossy Finish: The cooked sugar method ensures a brilliant, pure white shine that looks stunning under natural light.
- Superior Stability: Unlike whipped cream, this frosting is stable at room temperature and maintains those deep, smooth ripples.
- Not Overly Sweet: By using a meringue base, we achieve a sophisticated flavor profile that complements rich cakes like Southern Peach Cobbler or decadent cupcakes.
- Perfect Pipeability: Whether you are using a stainless steel wire whisk or a piping bag, the velvety texture holds its shape perfectly.
Essential Ingredients for a Glossy White Finish
To master this Swiss Meringue Buttercream Recipe, you only need five core ingredients, but their quality and temperature are paramount to your success.
5 Large Egg Whites (150ml): These provide the structural foundation. Ensure there is absolutely no yolk, as fat prevents the meringue from reaching stiff peaks.
1 ½ Cups (300g) Granulated Sugar: This is dissolved into the whites to create a stable syrup that won’t feel grainy on the tongue.
2 Cups (450g) Unsalted Butter: Use high-quality butter, softened to slightly cooler than room temperature (about 65°F or 18°C) for the best emulsion.
2 Teaspoons (10ml) Pure Vanilla Extract: Adds that classic bakery aroma. For a pure white look, use clear vanilla or a tiny drop of violet food gel to neutralize yellow tones.
½ Teaspoon (3g) Fine Sea Salt: A crucial invisible ingredient that cuts through the richness of the butter and balances the sweetness.
The Critical Step: Preparing Your Clear Glass Mixing Bowl
Before beginning your Swiss Meringue Buttercream Recipe, you must ensure your equipment is “meringue-ready.” Even a microscopic trace of grease can ruin your volume.
Wipe down your clear glass mixing bowl and stainless steel wire whisk with a paper towel dampened with lemon juice or white vinegar. This removes any lingering oils. A transparent bowl is ideal because it allows you to monitor the egg whites as they cook over the simmering water, ensuring no bits of egg are scrambling at the bottom.
If you enjoy technical bakes that require precision, you might also love mastering a Bavarian Cream Recipe for your next cake filling.
Step-by-Step: Mastering the Meringue Foundation
1. Creating the Double Boiler
Fill a medium saucepan with 1 inch (2.5cm) of water and bring it to a gentle simmer. Place your clear glass mixing bowl over the top, ensuring the bottom of the bowl does not touch the water. This indirect heat is vital for the Swiss Meringue Buttercream Recipe.
2. Dissolving the Sugar
Combine the egg whites and granulated sugar in the bowl. Whisk constantly with your stainless steel wire whisk. You are looking for a visual cue: the mixture will turn from translucent to an opaque, pale white. Use your fingers to rub a bit of the mixture; if it feels completely smooth and hot (160°F or 71°C), the sugar is dissolved.
3. Whipping to Stiff, Voluminous Swirls
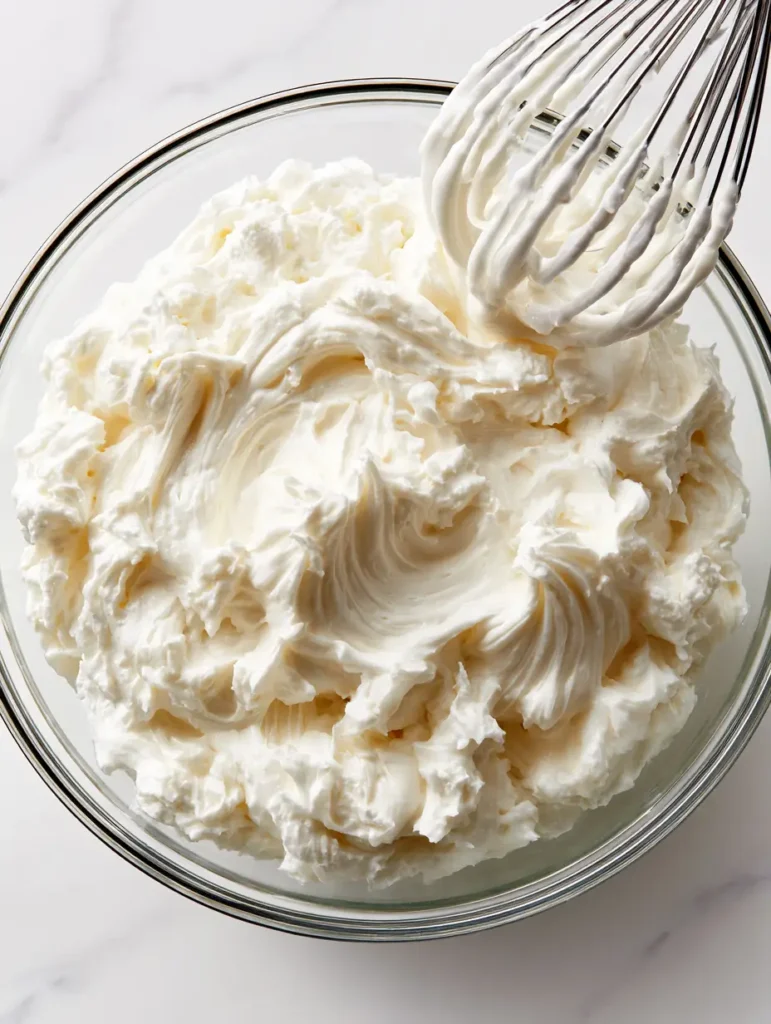
Move the bowl to your stand mixer. Using the whisk attachment, beat the mixture on high speed. Watch as it transforms into a thick foundation of glossy, pure white meringue. You must continue until the bowl feels cool to the touch and you have stiff meringue peaks that stand straight up when the whisk is lifted.
4. The Butter Integration
Switch to the paddle attachment. With the mixer on medium-low, add the softened butter one tablespoon (14g) at a time. This is where the Swiss Meringue Buttercream Recipe often looks like it’s failing—it may look curdled or soupy. Keep whipping. The velvety texture will suddenly “snap” into a cohesive, thick foundation of frosting.
5. Finishing Touches
Once the butter is fully incorporated, add your vanilla and salt. Beat on low speed for 2-3 minutes to remove air bubbles, resulting in deep, smooth ripples that are perfect for smoothing onto a cake.
Expert Tips for the Perfect Velvety Texture
- Temperature Control: If the buttercream is too runny, the butter was too soft. Chill the bowl for 15 minutes and whip again.
- The Curdling Phase: Do not panic if it looks like cottage cheese. This is a normal part of the Swiss Meringue Buttercream Recipe emulsion process. Just keep the mixer running!
- Whisk vs. Paddle: Use the stainless steel wire whisk for the meringue, but always switch to the paddle for adding butter to prevent excessive air bubbles.
- Flavor Variations: This base is much more versatile than a Chantilly Cream, as it can hold heavy additions like melted chocolate or fruit purees.
How to Store and Revive Your Buttercream
This Swiss Meringue Buttercream Recipe stores beautifully. You can keep it in an airtight container at room temperature for 1-2 days, or refrigerate it for up to 2 weeks. It can also be frozen for up to 3 months.
To revive: Allow the buttercream to come completely to room temperature. This is essential. Place it back in the mixer and whip until it regains its glossy, pure white and velvety texture. Do not try to whip it while cold, or it will break.
What to Serve With Swiss Meringue Buttercream
This frosting is incredibly versatile. It is the traditional choice for a sophisticated Italian Meringue Buttercream alternative. Try it on top of a vanilla bean cake, or use it as a rich filling for a Filipino Ensaymada for a modern twist. Its stability also makes it the best choice for intricate floral piping on wedding cakes.
Frequently Asked Questions
Fresh egg whites are highly recommended. Many carton egg whites are pasteurized at high heat, which can prevent them from whipping into the necessary stiff peaks.
Butter has a natural yellow tint. To achieve a pure white finish, add a tiny drop of violet food coloring to neutralize the yellow, or use clear vanilla extract.
It is more stable than whipped cream or standard buttercream, but it is still butter-based. It will hold up well in cool or room temperature settings but may melt in direct sunlight or high heat.
Curdling is a normal stage of the emulsion process when the butter and egg whites are at slightly different temperatures. Keep whipping on medium speed and it will eventually snap into a smooth, velvety texture.
If your buttercream is soupy, your meringue or butter was too warm. Simply place the bowl in the refrigerator for 15-20 minutes, then continue whipping until it thickens.
The Ultimate Swiss Meringue Buttercream Recipe Card
Swiss Meringue Buttercream Recipe: The Ultimate Silky Professional Frosting
Ingredients
Equipment
Method
- Place egg whites and sugar in a clear glass bowl over simmering water. Whisk constantly until sugar is dissolved and mixture reaches 160°F (71°C).
- Transfer bowl to a stand mixer. Using a stainless steel wire whisk, beat on high until the bowl is cool and the mixture forms stiff, glossy peaks.
- Switch to the paddle attachment. Add butter one tablespoon at a time on medium-low speed until the frosting is smooth and velvety.
- Add vanilla and salt. Beat on low for 2 minutes to remove air bubbles and create deep, smooth ripples.
Notes
If the mixture curdles, just keep whipping; it will come together!
Share Your Baking Masterpiece!
Did your Swiss Meringue Buttercream Recipe turn out perfectly glossy? We want to see those stiff meringue peaks! Please save this recipe to your favorite Pinterest board, follow Noudish_Recipes for more professional baking secrets, and share a photo of your finished cake in the comments below. Don’t forget to leave a 5-star rating if you loved this silky texture!