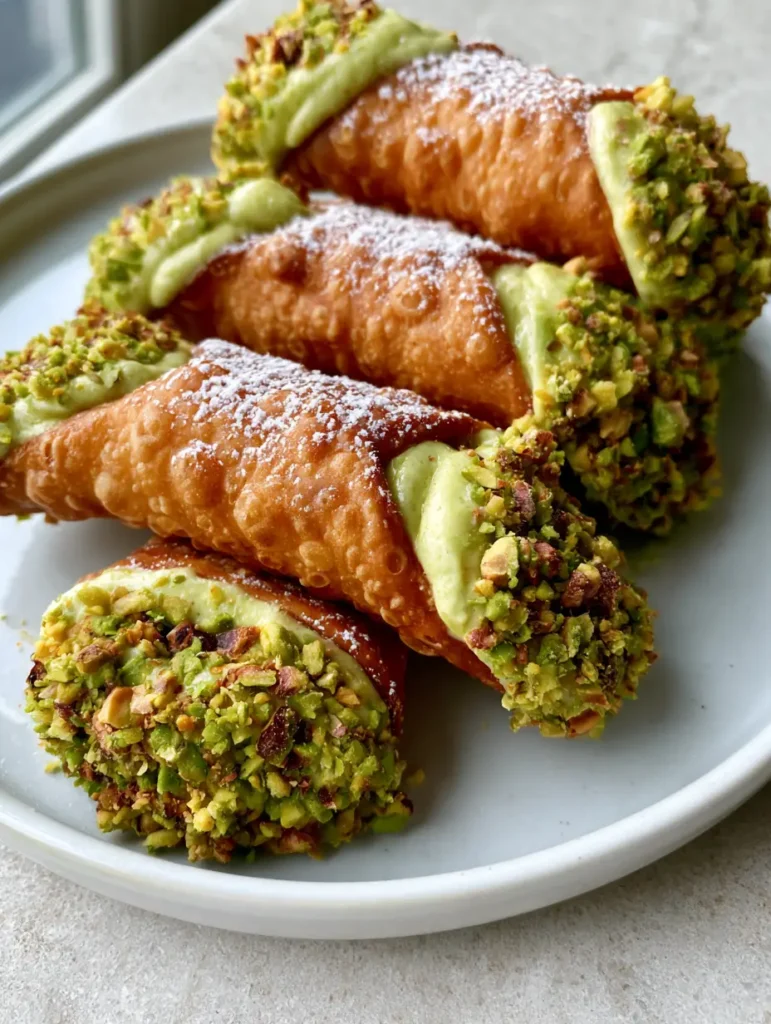
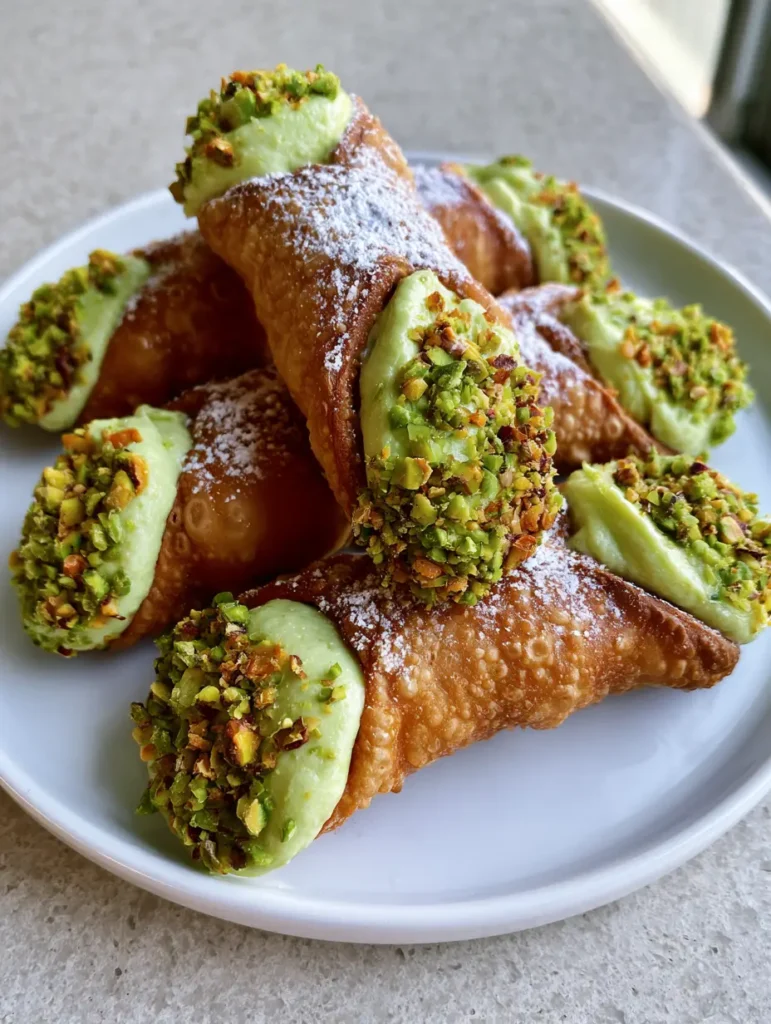
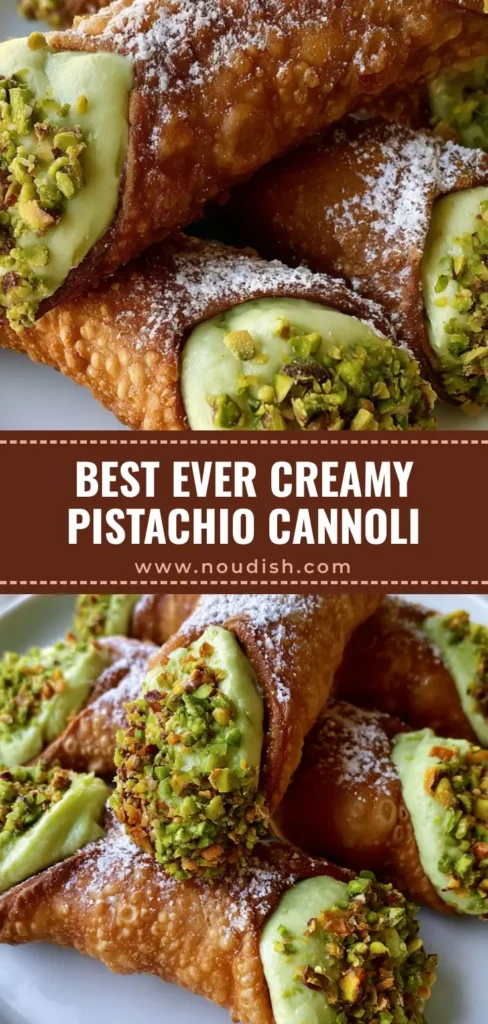
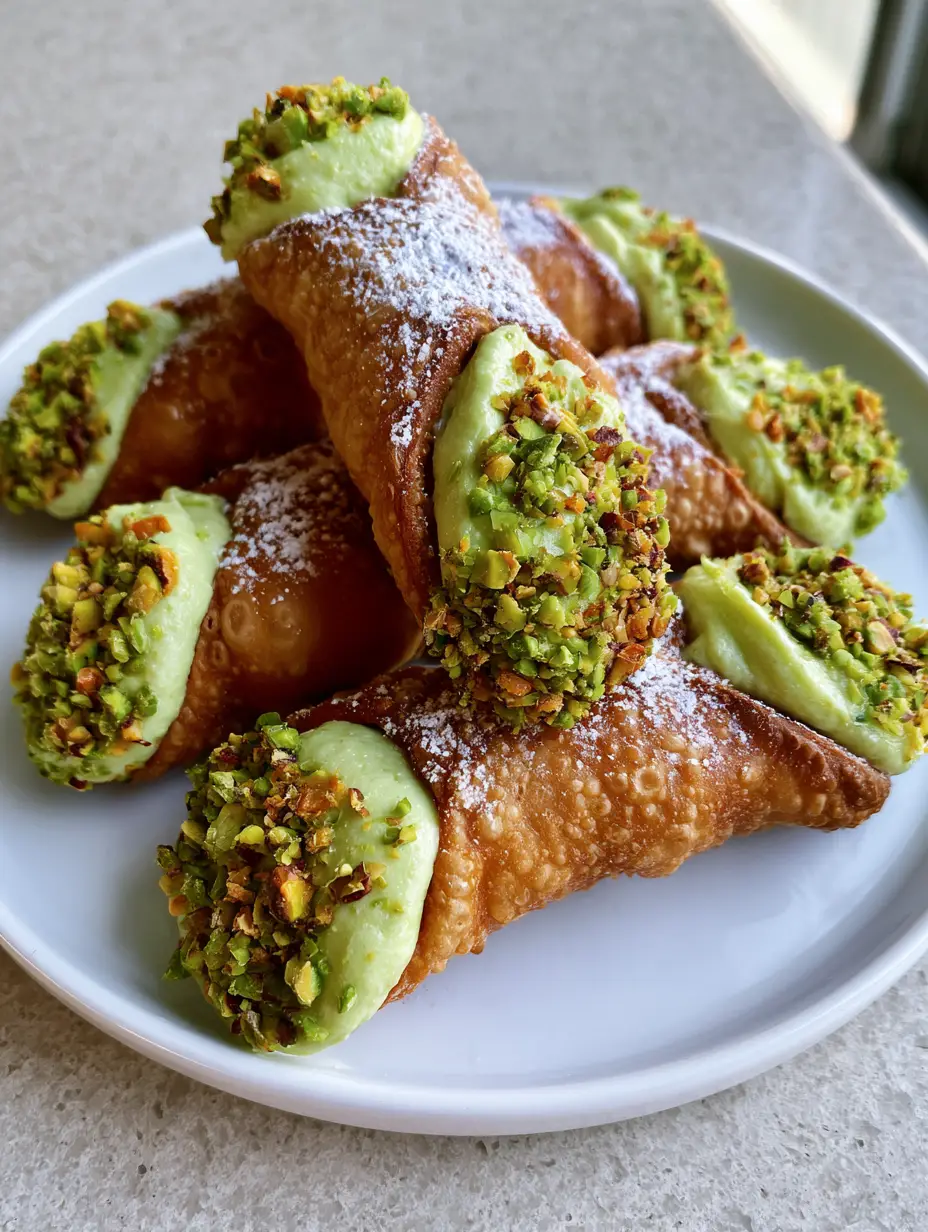
This Pistachio Cannoli Recipe is the ultimate showstopper for anyone who craves the perfect balance of a shattering, bubbly crunch and a silk-smooth, decadent filling. If you have been scrolling through Pinterest looking for that signature pale green pistachio cream tucked inside a golden-brown, blistered shell, you have finally found it.
The secret to an elite Pistachio Cannoli Recipe lies in the contrast of textures—the earthy, roasted notes of finely chopped pistachios against the richness of mascarpone and ricotta. Unlike standard bakery versions that often use artificial flavoring, this recipe relies on high-quality pistachio paste and freshly roasted nuts to deliver a truly authentic Italian experience.
Whether you are hosting a formal dinner or simply want to master the art of Sicilian pastry, these cannoli provide a visual and culinary reward that is worth every second of effort. Let’s dive into how you can achieve that professional, handheld smartphone photo look right in your own kitchen.
Why This Vibrant Pistachio Cannoli Recipe Works
- Shatter-Crisp Texture: Our dough uses a splash of vinegar and Marsala wine to create those iconic tiny bubbles (blisters) that signify a perfectly fried shell.
- Ultra-Stable Filling: By blending mascarpone with traditional ricotta, we achieve a thick, smooth pistachio mascarpone cream that holds its shape without becoming runny.
- Gourmet Visual Appeal: The vibrant green of the crushed roasted pistachios against the golden shell creates a high-contrast look that is guaranteed to go viral on Pinterest.
- Perfectly Balanced Sweetness: We use a light dusting of sifted powdered sugar to enhance the nuttiness rather than overpowering it with sugar.
Essential Ingredients for the Best Pistachio Pastry
To achieve the results seen in our Pistachio Cannoli Recipe, quality matters. Every ingredient serves a specific structural or flavor-based purpose to ensure your cannoli don’t just look good, but taste like they came from a bakery in Palermo.
For the Bubbly Golden Shells
All-Purpose Flour: 2 cups (250g). Provides the necessary structure for the dough to be rolled paper-thin.
Granulated Sugar: 2 tbsp (25g). Helps with the browning process during frying.
Unsalted Butter: 2 tbsp (30g), chilled and cubed. Creates a tender, flaky crumb within the crispy exterior.
Marsala Wine: 1/2 cup (120ml). The acidity and alcohol are crucial for creating those beautiful “blisters” in the dough.
Egg: 1 large egg, lightly beaten. Acts as a binder and helps the shells hold their shape on the cannoli tubes.
Fine Sea Salt: 1/2 tsp (3g). To balance the sweetness of the filling.
For the Pale Green Pistachio Filling
Whole Milk Ricotta: 1.5 cups (350g), drained overnight. Essential for the classic Italian texture. Ensure it is very dry.
Mascarpone Cheese: 1/2 cup (115g). Adds a luxurious, buttery smoothness that stabilizes the ricotta.
Powdered Sugar: 3/4 cup (90g), plus extra for dusting. Sifted to ensure a smooth pistachio mascarpone cream.
Pure Pistachio Paste: 3 tbsp (45g). Gives the filling its signature pale green color and intense nutty flavor.
Vanilla Bean Paste: 1 tsp (5ml). Adds depth and aromatic warmth.
Roasted Pistachios: 1/2 cup (60g), finely chopped. Used for dipping the ends to create that “heavily coated” look.
Step-by-Step: Mastering the Sicilian Cannoli Shell
The shell is the soul of the Pistachio Cannoli Recipe. If you’ve enjoyed making a Sicilian pizza recipe, you’ll appreciate the craft that goes into this traditional dough. It requires patience and a bit of “elbow grease” to get it thin enough to bubble.
1. Prepare and Chill the Dough
In a food processor or large bowl, combine the flour, sugar, and salt. Pulse in the chilled butter until it resembles coarse crumbs. Slowly add the Marsala wine and half of the beaten egg (save the rest for sealing the shells). Knead the dough for about 5-8 minutes until it is smooth and elastic. Wrap in plastic and rest at room temperature for at least 1 hour. This resting period allows the gluten to relax, making it easier to roll paper-thin.
2. Rolling and Cutting the Shells
Divide the dough into four pieces. Using a pasta machine or a heavy rolling pin on a lightly floured surface, roll the dough until it is almost translucent (about 1/16th of an inch). Use a 4-inch (10cm) round cutter to stamp out circles. Stretch each circle slightly into an oval shape to ensure it wraps perfectly around your cannoli form.
3. The Secret to the Perfect Bubble
Wrap each dough oval around a metal cannoli tube. Use a small amount of the remaining beaten egg to seal the edge where the dough overlaps. Pro Tip: Do not get any egg on the metal tube itself, or the shell will stick and break after frying. Ensure the seal is tight so it doesn’t unravel in the hot oil.
4. Frying to Golden Perfection
Heat vegetable oil in a deep pot to 360°F (180°C). Fry the shells 2-3 at a time for about 1-2 minutes until they are golden-brown with a bubbly, crispy texture. Carefully remove them with tongs and place them on paper towels. Slide the shells off the metal tubes while they are still warm, but be careful—they are hot! Let them cool completely before filling.
Crafting the Silk-Smooth Pistachio Filling
Now that your shells are ready, it’s time to prepare the heart of the Pistachio Cannoli Recipe. If you love a creamy finish like in my bavarian cream recipe, this mascarpone-ricotta blend will be your new favorite.
In a large bowl, whisk the drained ricotta and mascarpone together until just combined. Do not overmix, or the mascarpone may break and become grainy. Fold in the sifted powdered sugar, vanilla bean paste, and the pure pistachio paste. Your filling should be a thick, smooth, pale green pistachio color.
Transfer the mixture to a piping bag fitted with a large round tip. For the best results, refrigerate the filling for 30 minutes before piping to help it firm up. This ensures the cannoli stay crisp for as long as possible after assembly.
The Art of Assembly: A Visual Feast
This is where your Pistachio Cannoli Recipe comes to life for the camera. Assembly should happen just before serving to maintain that maximum crunch. If you’ve previously mastered my pistachio chocolate croissant, you know how important the final decorative touch is.
- Pipe with Precision: Insert the piping bag into one end of the shell and squeeze until the filling reaches the edge. Repeat from the other side so the center is completely full.
- The Nutty Finish: Immediately dip both ends of the filled cannoli into a bowl of finely chopped, vibrant green roasted pistachio pieces. Press lightly so they are heavily coated.
- The Final Flourish: Place the finished cannoli on a white ceramic plate. Use a fine-mesh sieve to add a very light dusting of fine powdered sugar across the top, just like in the Midjourney prompt.
Expert Tips for Success
- Drain the Ricotta: This is the most common mistake. Even “thick” ricotta has hidden moisture. Drain it through cheesecloth for at least 12 hours.
- Monitor Oil Temp: If the oil is too cold, the shells will be greasy. If it’s too hot, they will burn before the bubbles form. Use a candy thermometer!
- Wait to Fill: Only fill the cannoli right before you plan to eat them. Even the stablest filling will eventually soften the shell.
- Homemade Paste: If you can’t find pistachio paste, blend roasted pistachios in a high-speed blender until they turn into a smooth butter. It works beautifully in this Pistachio Cannoli Recipe.
Storage and Freshness
The unfilled shells can be stored in an airtight container at room temperature for up to 5 days. The pistachio mascarpone cream will stay fresh in the refrigerator for up to 3 days. However, once assembled, the Pistachio Cannoli Recipe is best enjoyed within 1-2 hours. We do not recommend freezing assembled cannoli, as the texture of the cream will change and the shell will lose its signature snap.
What to Serve With This
These cannoli are incredibly rich, so they pair perfectly with a sharp espresso or a glass of chilled Vin Santo. If you are creating a full Italian dessert spread, consider serving them alongside a chocolate pistachio tart or even a light watermelon sorbet recipe to cleanse the palate between bites.
Frequently Asked Questions
Yes, you can make the pistachio mascarpone filling up to 2 days in advance. Keep it in a piping bag in the refrigerator, but do not fill the shells until you are ready to serve.
The bubbles, or blisters, are created by the reaction of Marsala wine (acid and alcohol) with the hot oil. Ensure your dough is rolled paper-thin; the thinner the dough, the better the bubbles.
Assembled cannoli are best eaten within 1 to 2 hours. After that, the moisture from the cream begins to soften the crispy shell.
If you don’t have Marsala, you can use white wine vinegar or a dry white wine. The acidity is the most important factor for the dough’s texture.
Runny filling is usually caused by excess moisture in the ricotta. You must drain your ricotta through cheesecloth for at least 12 hours (preferably overnight) before mixing.
The Ultimate Pistachio Cannoli Recipe Card
Pistachio Cannoli Recipe: Authentic Sicilian Crispy Shells & Nutty Cream
Ingredients
Equipment
Method
- Mix flour, sugar, salt, and butter. Add Marsala wine and egg to form a dough. Knead for 5-8 minutes until smooth. Rest for 1 hour.
- Roll dough to 1/16 inch thickness. Cut into circles, wrap around tubes, and fry at 360°F (180°C) until golden and bubbly.
- Whisk drained ricotta, mascarpone, powdered sugar, and pistachio paste until smooth and pale green.
- Pipe filling into cooled shells. Dip ends into crushed pistachios and dust with powdered sugar.
Notes
Do not fill the shells more than 1-2 hours before serving to maintain maximum crispness.
Save This Recipe to Pinterest!
Did you love this Pistachio Cannoli Recipe? If so, please save it to your favorite Dessert Board on Pinterest! Taking a second to pin this helps other home cooks find these authentic Sicilian flavors.
Don’t forget to follow Noudish_Recipes for more high-end pastry guides and kitchen-tested favorites. If you made these, upload a photo in the comments below—I love seeing your crispy, bubbly shells! Please leave a 5-star rating in the recipe card if you enjoyed the results.